Ingredients
Method
- In a large mixing bowl add the sourdough starter and water. Whisk until the starter fully dissolves and the mixture looks milky and uniform. Then add flour, salt and mix them all until no dry flour remains. The dough will look shaggy, sticky, and uneven. Cover the bowl and let the dough rest for 30 minutes.
- Instead of kneading, you’ll build dough strength through gentle folding over time.How to do itLightly wet your hand and grab one side of the dough, stretch it upward until it resists then fold it over the center.Rotate the bowl 90 degrees and repeat this until all four sides are folded (this is one complete set).Perform 3 complete sets of stretch and folds. Be sure to space them 30 minutes apart. After the final set, cover the dough and let it rest.
- This simple method removes guessing from bulk fermentation.Take approximately 40 g of dough and place it into a small clear container (a 2 oz cup works perfectly). This mini portion will:Rise at the same rate as your main dough, show you fermentation progress visually and tell you exactly when bulk fermentation is complete. Make sure it is either on top of or beside your main dough.
- Let the dough ferment until it becomes noticeably puffy, light, and jiggles when you gently shake the bowl.
- This step creates intentional chocolate distribution throughout the loaf.Lightly flour the dough if it's sticky. Using your hands, gently flatten it into a rectangle and sprinkle 60 g of chocolate chips evenly over the surface. Fold the bottom third upward, fold the top third downward (like folding a letter).Sprinkle the remaining 60 g of chocolate chips over the folded dough.Starting from the short end, roll the dough tightly into a log, like you are rolling a burrito.
- Now tighten the dough gently. Place it seam-side up. Tuck the ends under, rolling and tucking until the surface feels smooth and slightly tensioned.Flip it seam-side down and place it into a banneton (proofing basket) dusted with rice flour. If you don't have a banneton, use a bowl lined with a well-floured kitchen towel.
- Refrigerate the dough for 8–16 hours.Cold fermentation develops: Deeper, more complex flavor, a stronger dough structure, cleaner, sharper scoring definition and better oven spring.
- 30 minutes before baking, preheat your oven to 500°F (260°C) with a Dutch oven inside. While the oven preheats, remove the dough from the fridge and gently turn it onto a piece of parchment paper (seam-side down).Score the top with a sharp razor blade or lame. I like to aim for a quarter-inch depth at a 30-degree angle.
- Carefully remove the hot Dutch oven from the oven. Place the parchment paper with the dough inside the pot and cover it with the lid. Bake the bread covered for 30 minutes.Remove the lid and bake it uncovered for 10–15 minutes until the crust is deep golden brown. If the top is browning too quickly, tent it loosely with foil. That's what I usually do.
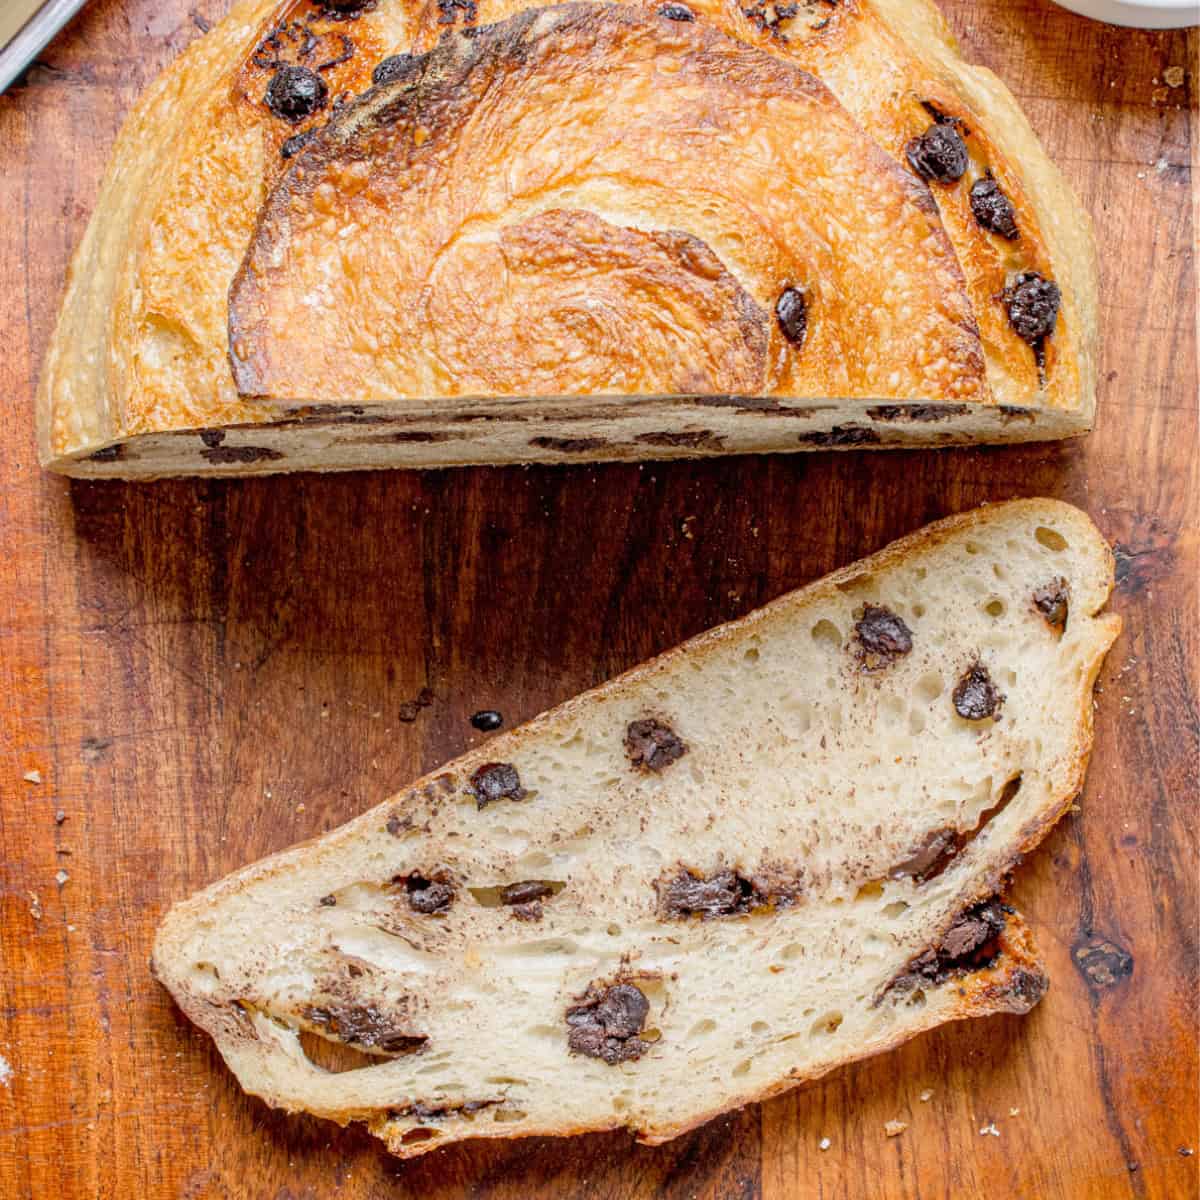
- Remove the bread from the Dutch oven and let it cool on a wire rack for at least 1 hour before slicing. This cooling period allows the crumb structure to fully set and lets the chocolate firm up so it doesn't smear too much when you slice.
Using the aliquot jar:When the mini dough touches the top of the 2 oz cup, your bulk fermentation is done. This typically takes 3–5 hours at 75–78°F.If you're not using an aliquot jar, look for these signs:The dough has increased roughly 50–75% in volumeSurface shows visible bubblesThe dough jiggles with movementIt feels airy, not dense