
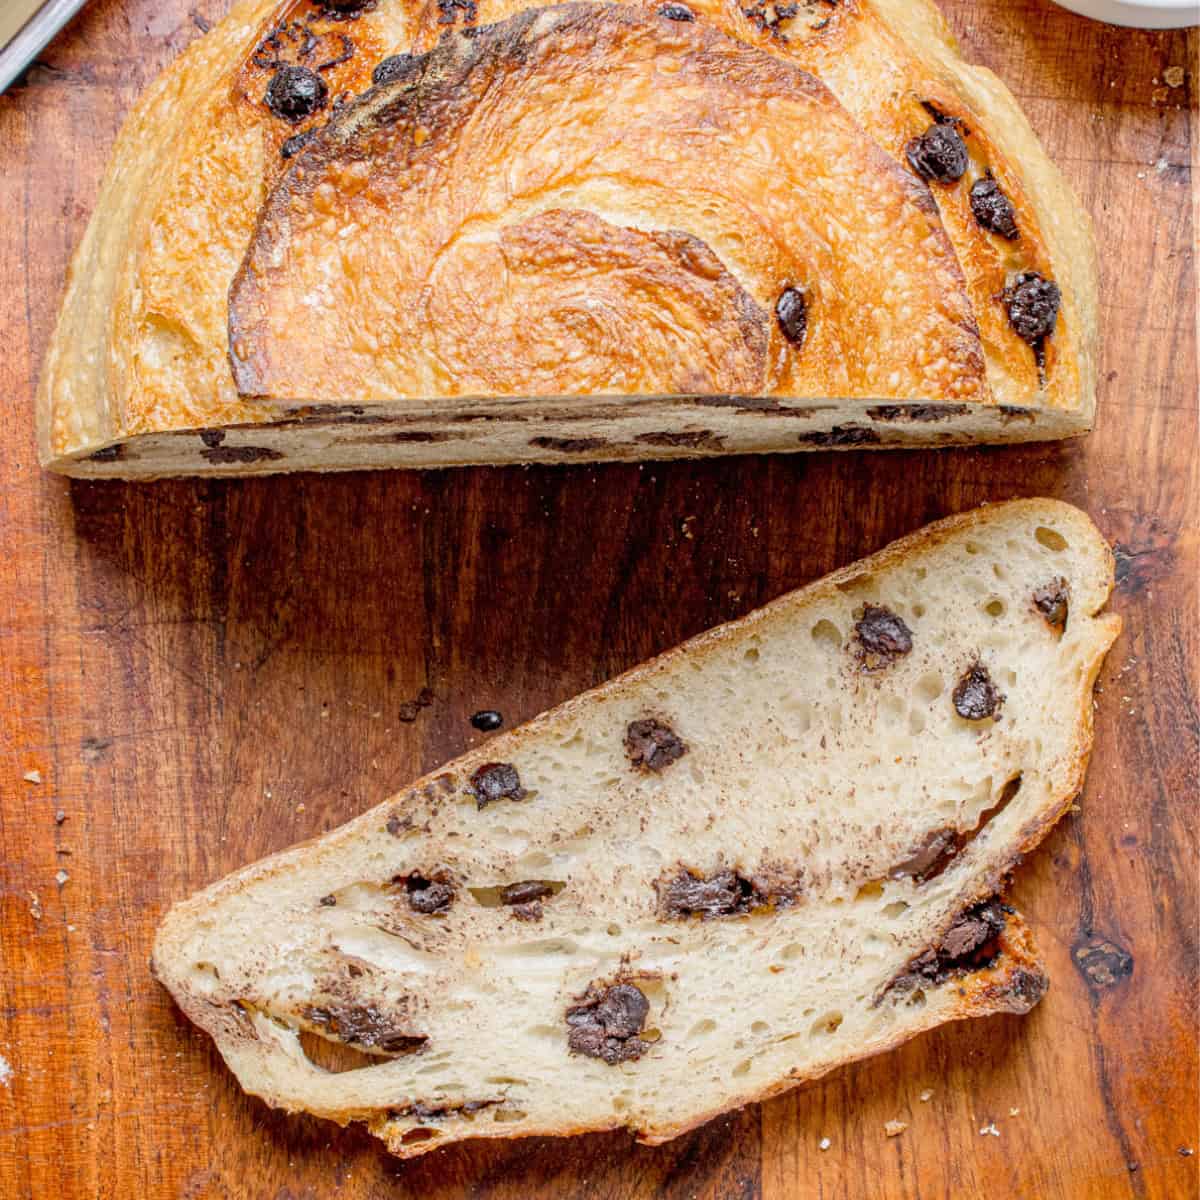
Chocolate chip sourdough bread is one of my favorite sourdough loaves to make. I (Kanyi) used to make this when I had my cottage bakery, and it was always a hit. I mean, who doesn't love fresh sourdough bread with chocolate chips baked right into it?
What I love most is that it doubles as both bread and dessert. You get that slightly tangy sourdough flavor, a chewy crust, and little pockets of chocolate in every bite. The kids absolutely love it, and if you have a midnight sweet tooth like I do, I think you will too.
One little tip: while you can use chopped chocolate bars, I recommend chocolate chips. They're much less messy to work with during folding and shaping, and you still get plenty of chocolate in every bite.
Grab your stuff and and lets get baking!
Looking for more easy Sourdough recipes? Try Sourdough Discard Biscuits, Sourdough Artisan Bread, Sourdough discard crackers and Irish Sourdough Soda Bread.
First Time Baking Sourdough? Start with This Step-by-Step Beginner Guide Video
If you're new to working with wet, wild-yeast doughs, I recommend watching my beginner sourdough walkthrough below. I walk you through the stretch-and-fold and shaping techniques you'll use for this chocolate chip recipe, so you can feel confident working with the dough from start to finish.
Jump To Recipe
Key Ingredients
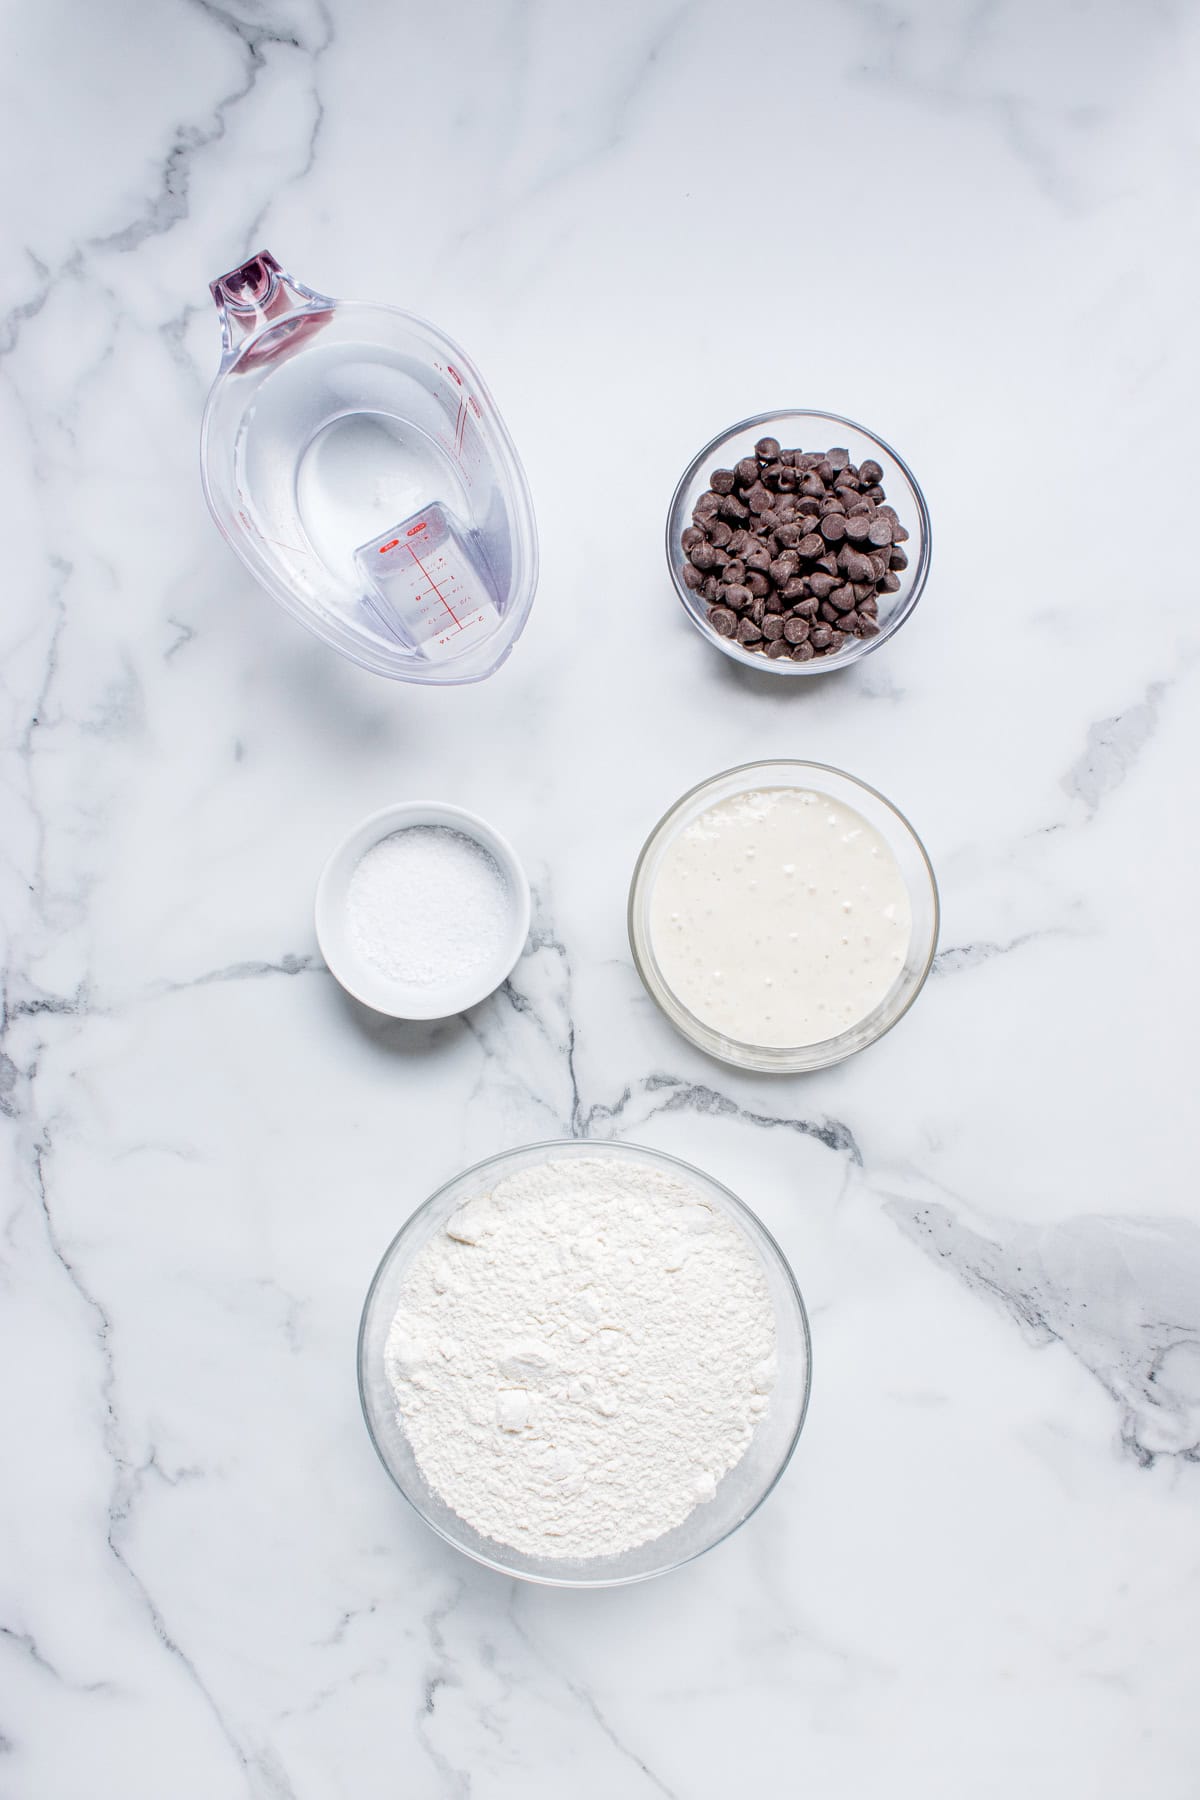
You’ll need the following ingredients to make this Chocolate Chip Sourdough Bread
Ingredient Notes
Flour: Bread flour creates the gluten structure strong enough to support fermentation and the chocolate chip inclusion. All-purpose flour works well but you can use bread flour instead. Whole wheat flour can be used. I recommend using about 50 grams of it and reduce water by 10–15g adding it slowly to the dough mixture if needed.
Sourdough Starter: Your natural leavening agent and the thing that gives your bread some tang. Your starter should be bubbly and active, feed it 4–6 hours before mixing. It should have risen noticeably.
Water: Controls dough hydration and gives it extensibility.
Kosher Salt: Balances sweetness, strengthens gluten, and controls the fermentation pace. Use Himalayan or sea salt at the same weight.
Chocolate Chips: For this recipe I used semi-sweet chocolate chips. You can use chopped dark chocolate instead of chips. I also recommend that you chill any chocolate chips before lamination so they don't melt from the dough's warmth.
How To make Chocolate Chip Sourdough Bread
Check out these step-by-step instructions with images. Just so you know, you'll find all the details and exact ingredients of this recipe on the printable recipe card below!
Step 1: Mix the Dough
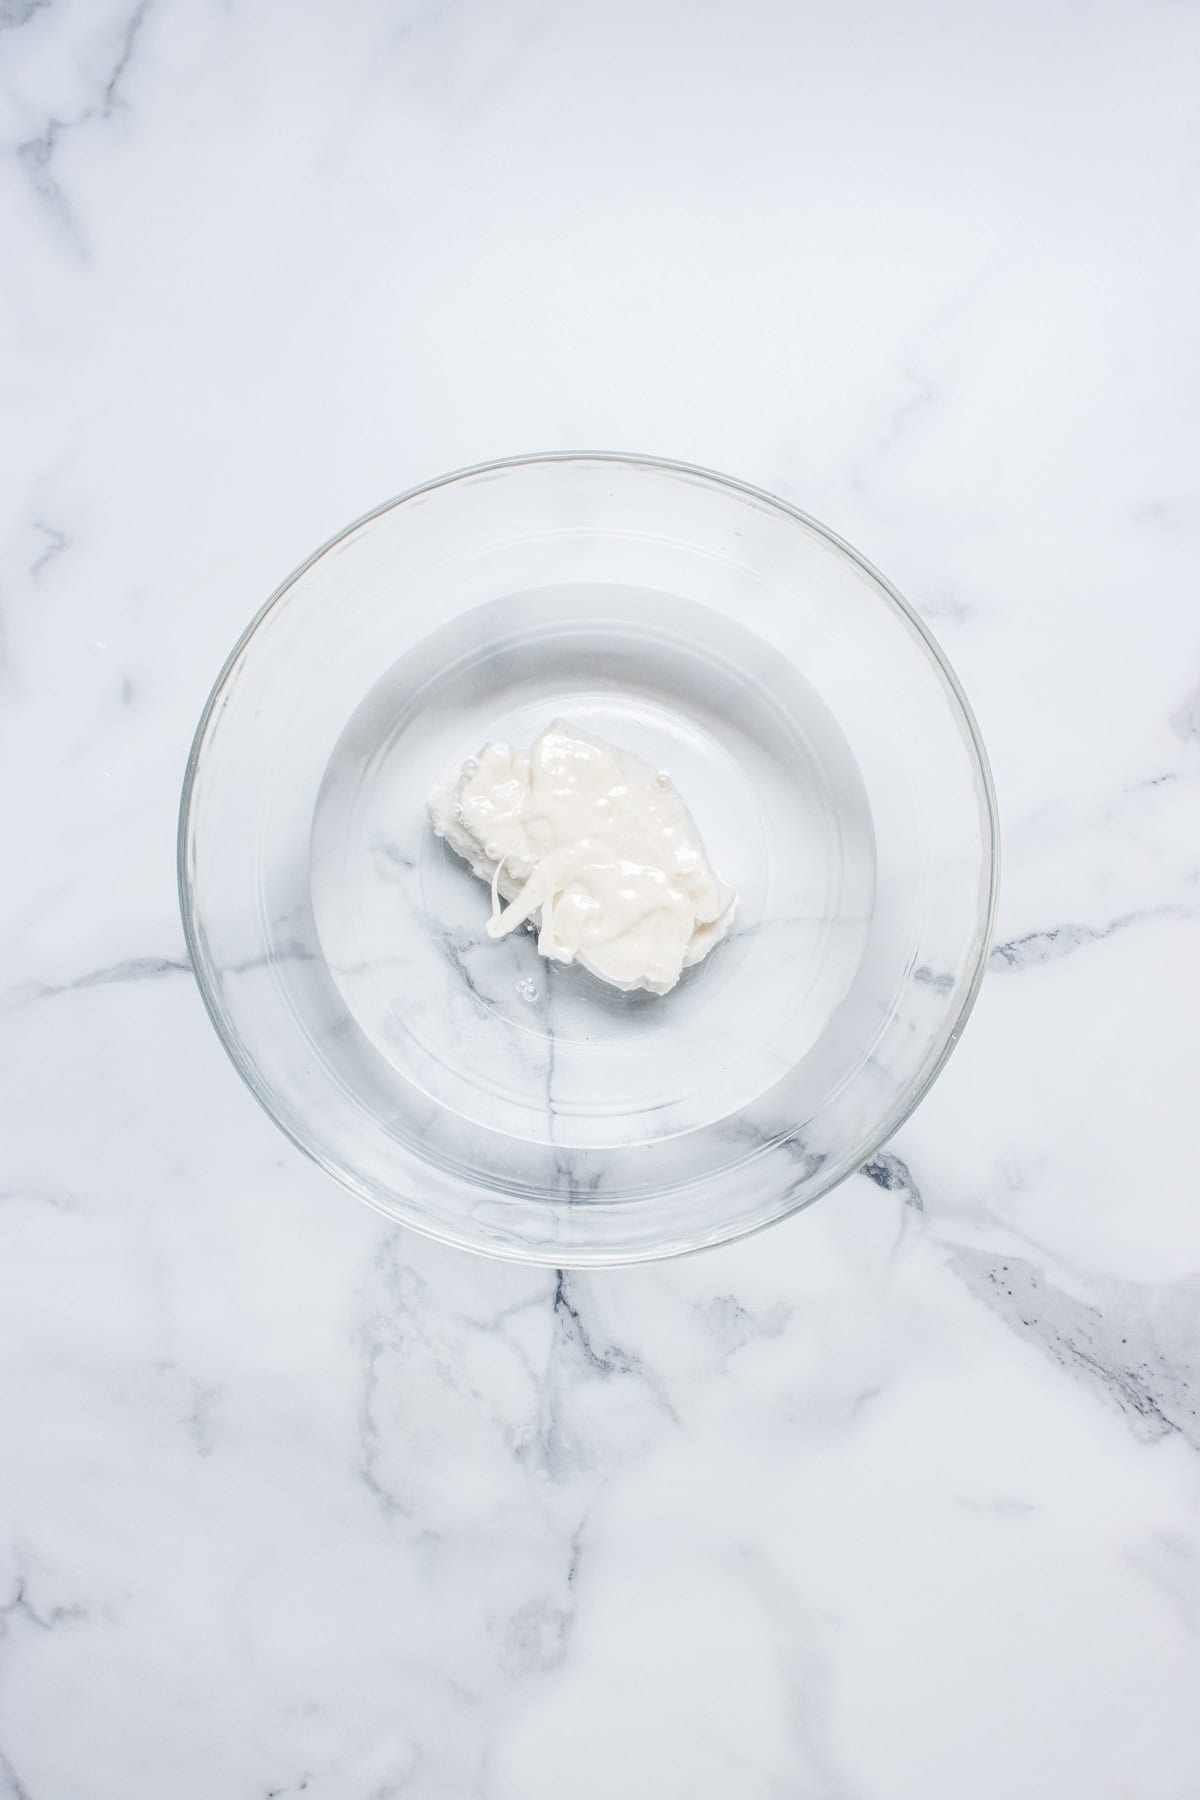
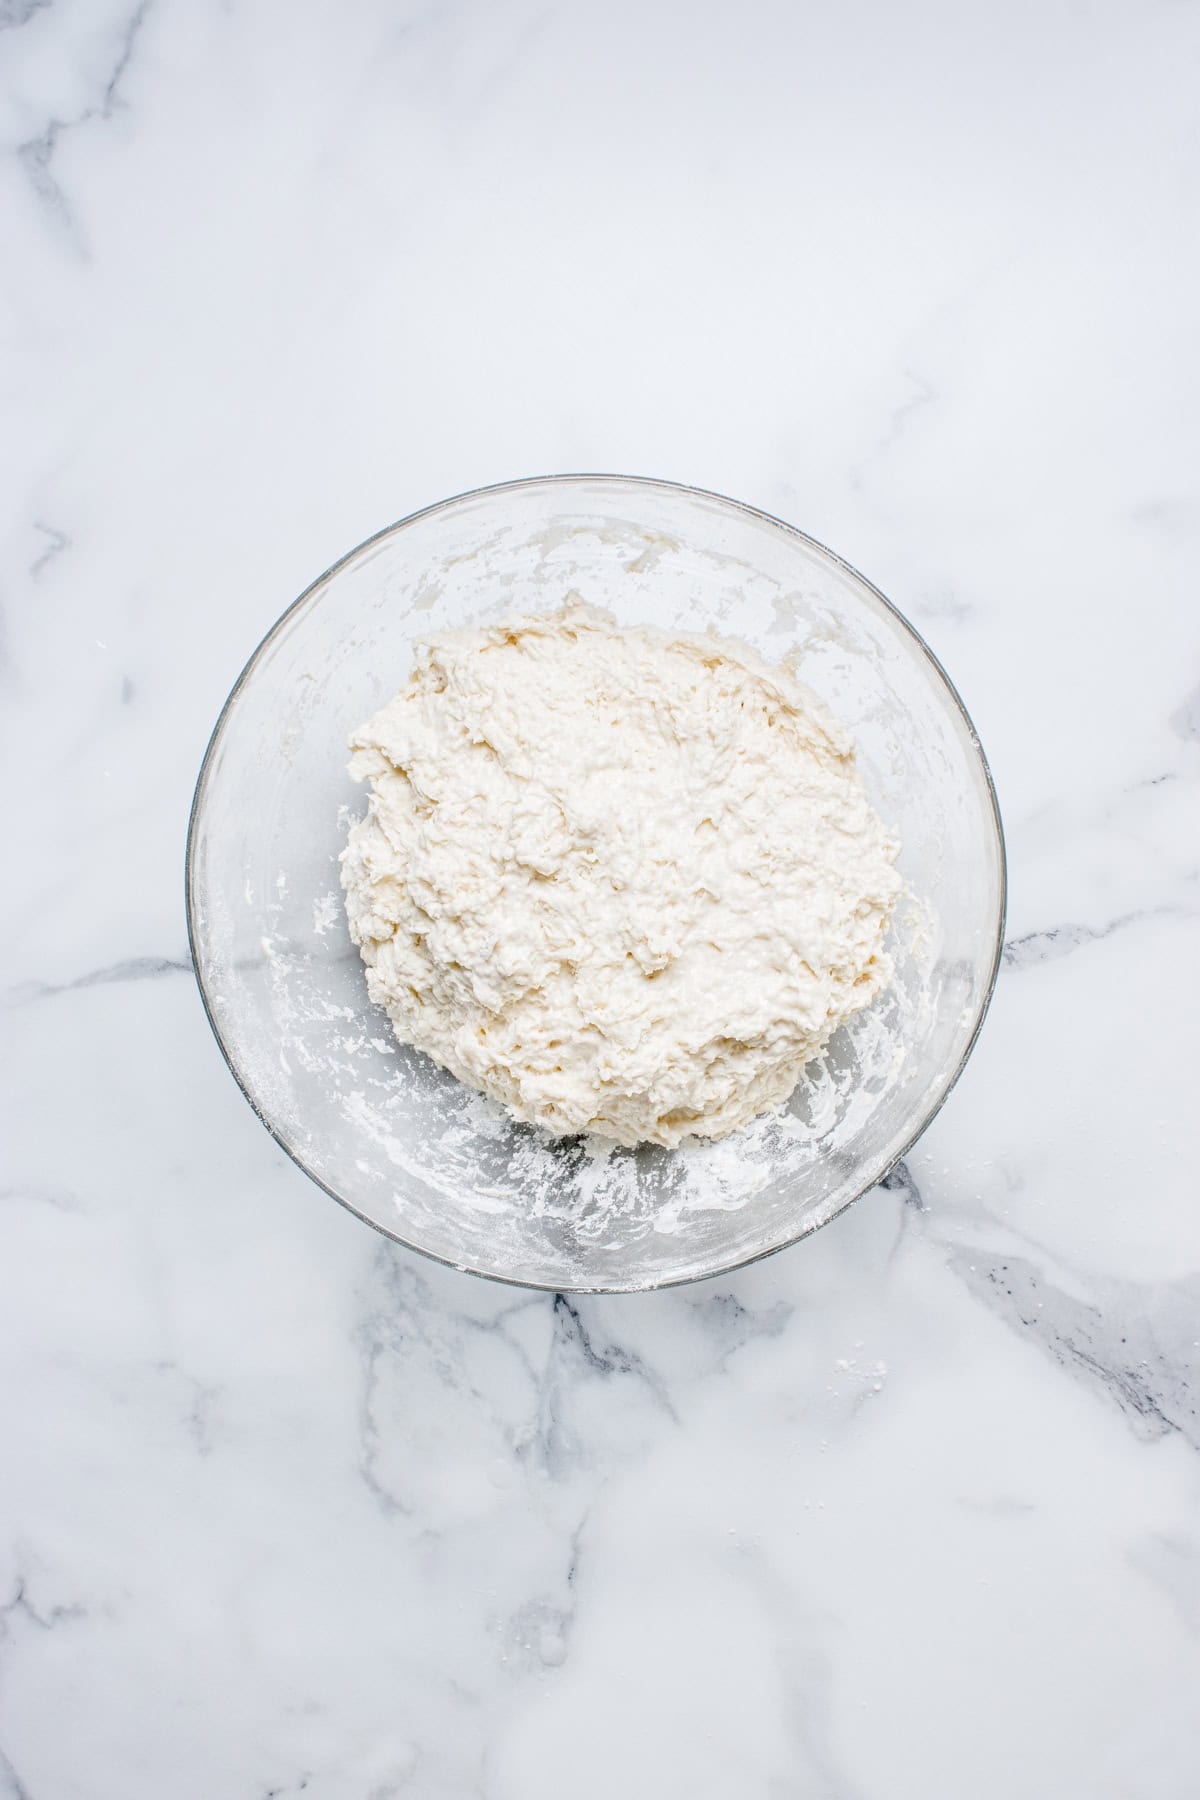
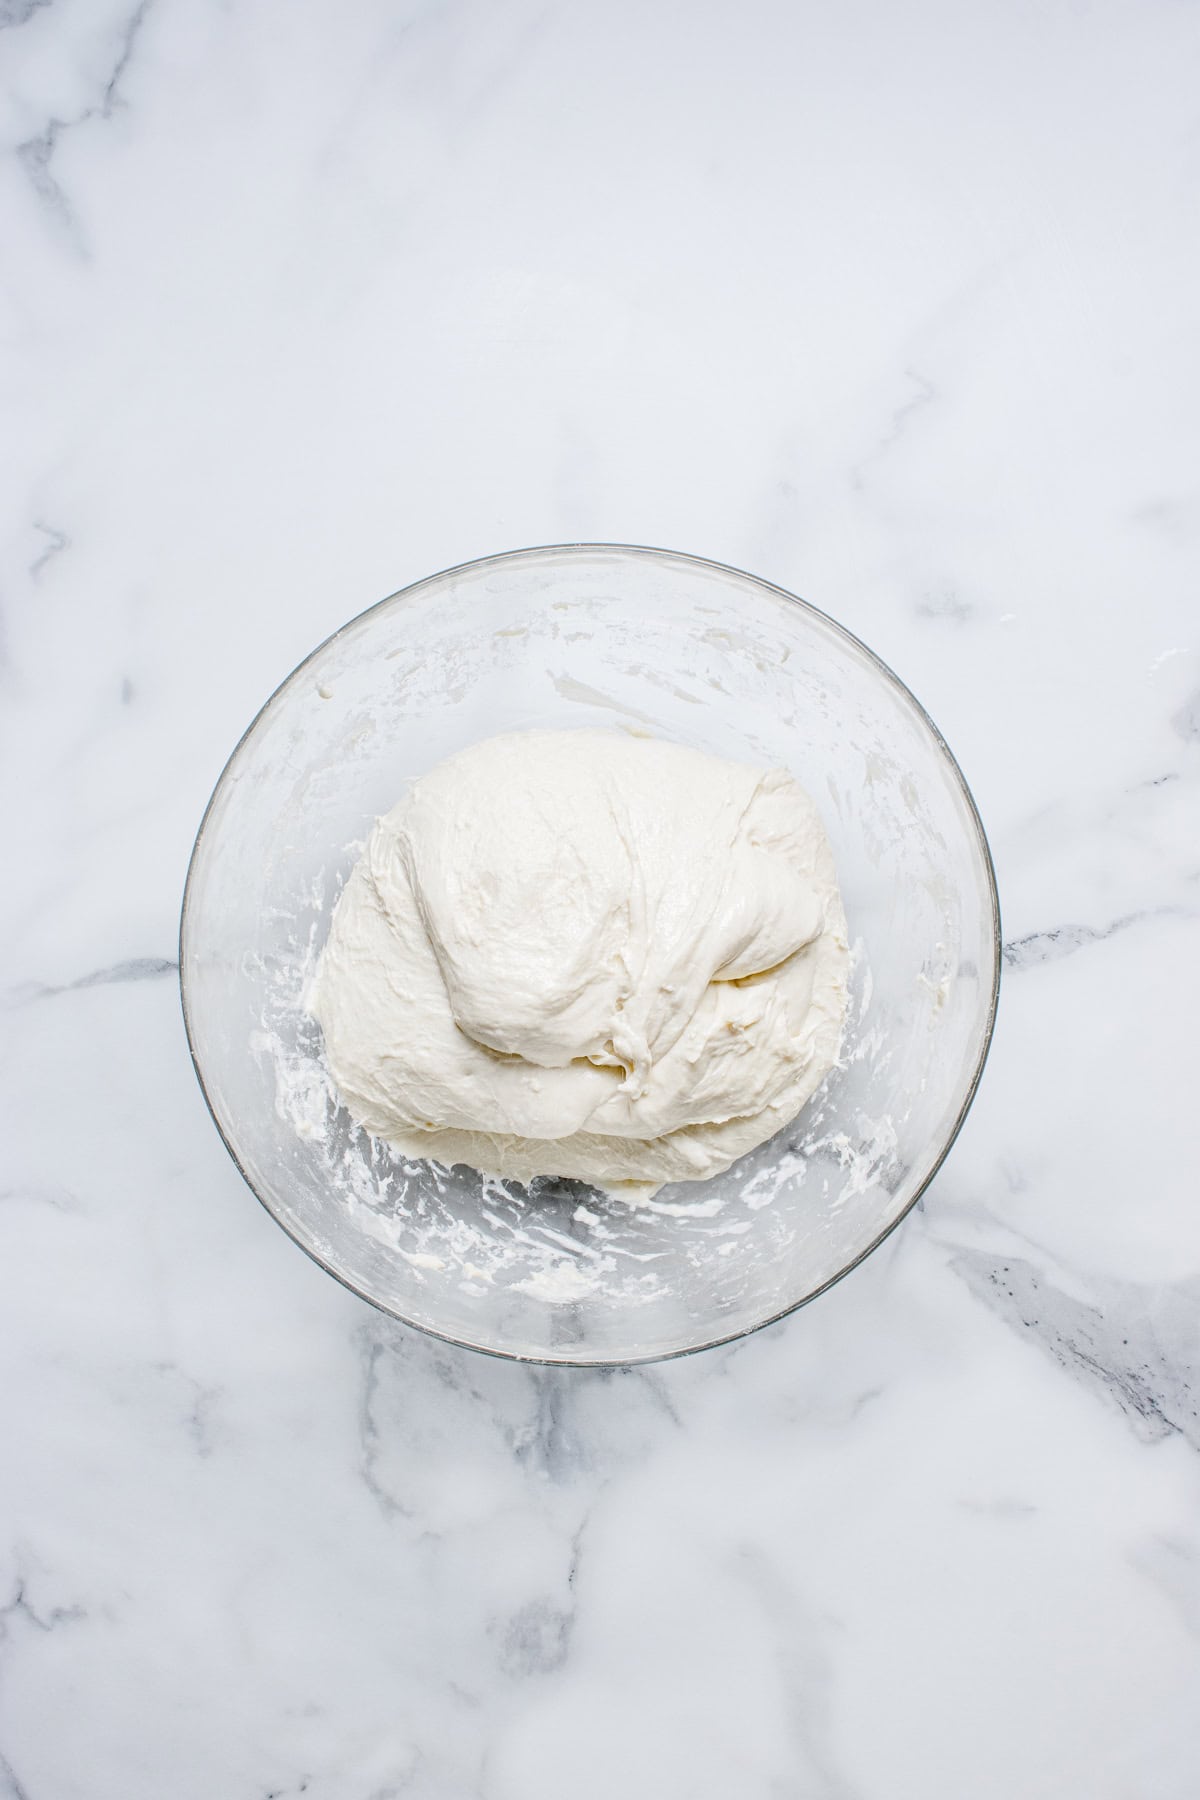
In a large mixing bowl add the sourdough starter and water. Whisk until the starter fully dissolves and the mixture looks milky and uniform. Then add flour, salt and mix them all until no dry flour remains. The dough will look shaggy, sticky, and uneven. Cover the bowl and let the dough rest for 30 minutes.
Step 2: Strength Building with Stretch & Folds
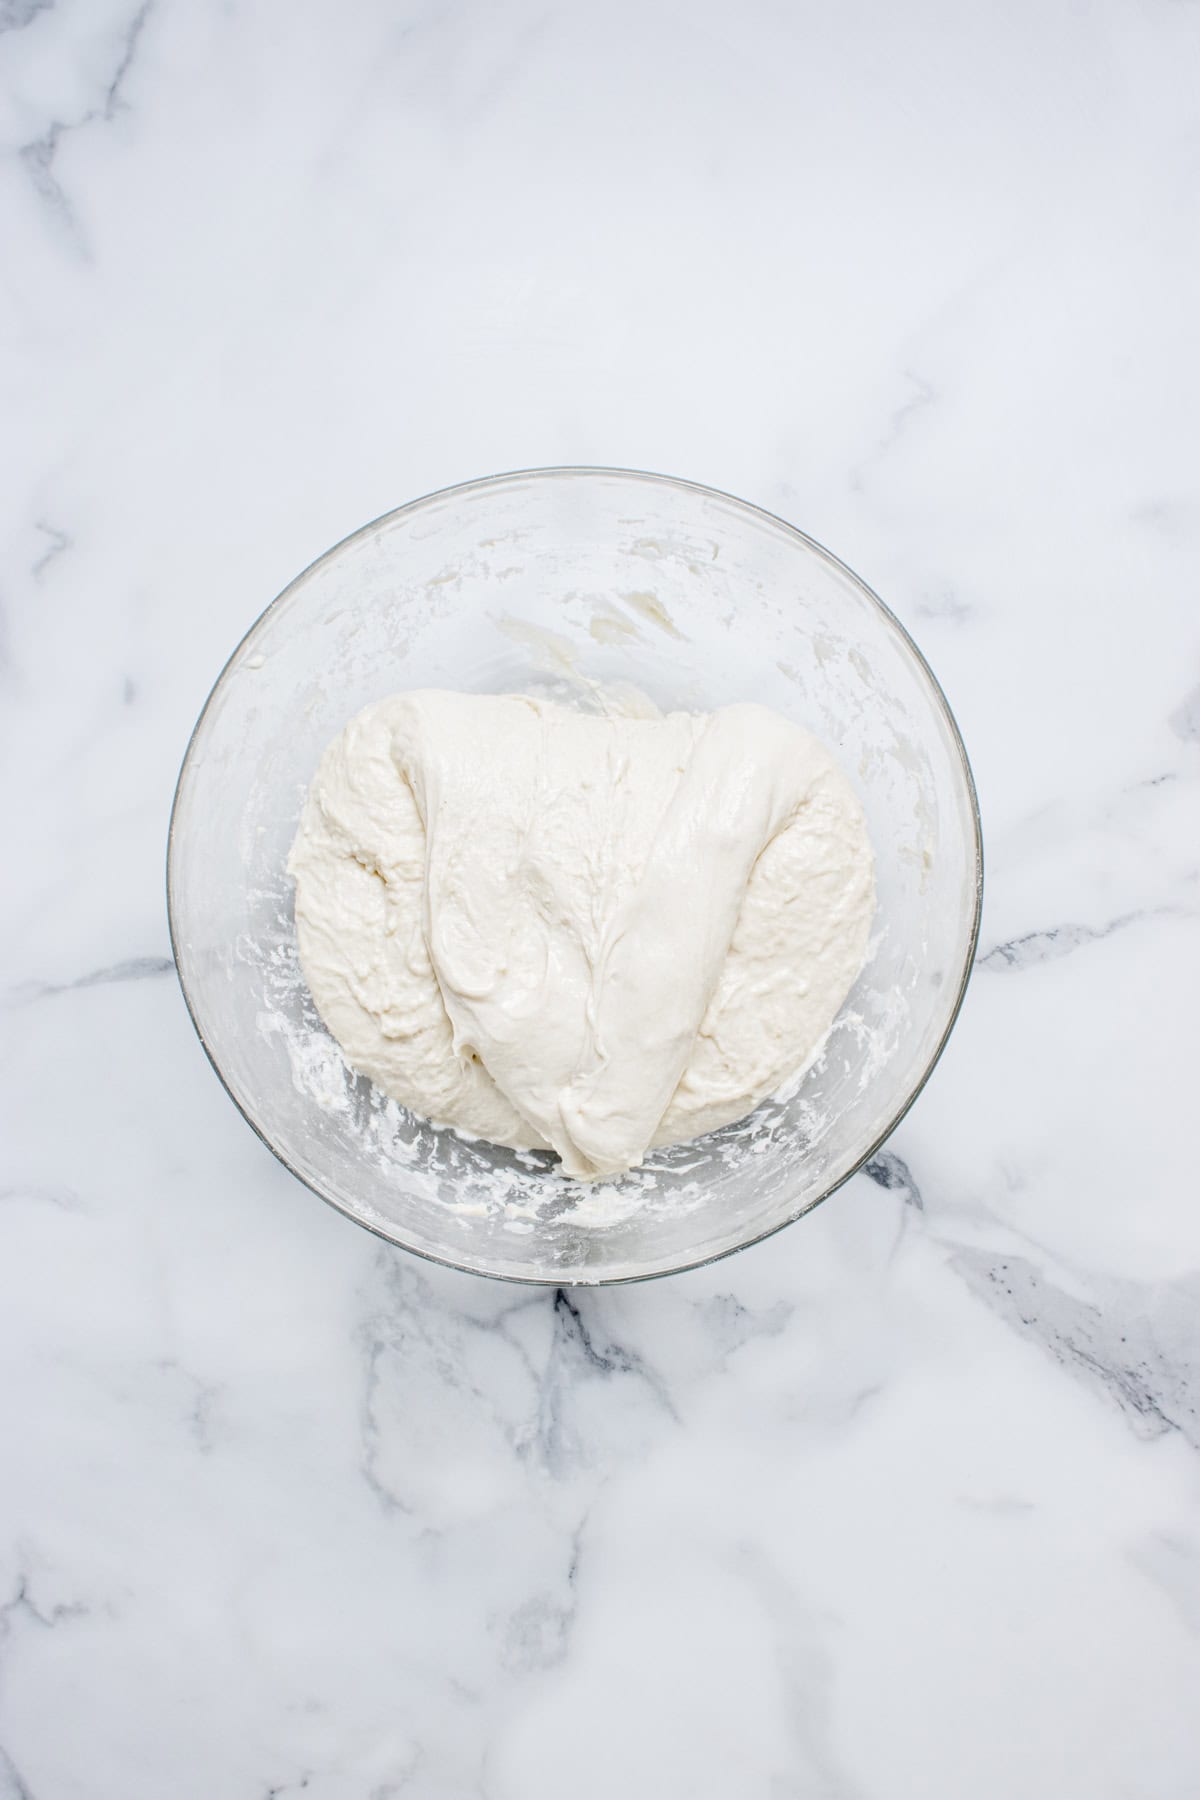
Instead of kneading, you’ll build dough strength through gentle folding over time.
How to do it
Lightly wet your hand and grab one side of the dough, stretch it upward until it resists then fold it over the center.
Rotate the bowl 90 degrees and repeat this until all four sides are folded (this is one complete set).
Perform 3 complete sets of stretch and folds. Be sure to space them 30 minutes apart. After the final set, cover the dough and let it rest.
Step 3: Optional Fermentation Tracker (Aliquot Jar)
This simple method removes guessing from bulk fermentation.
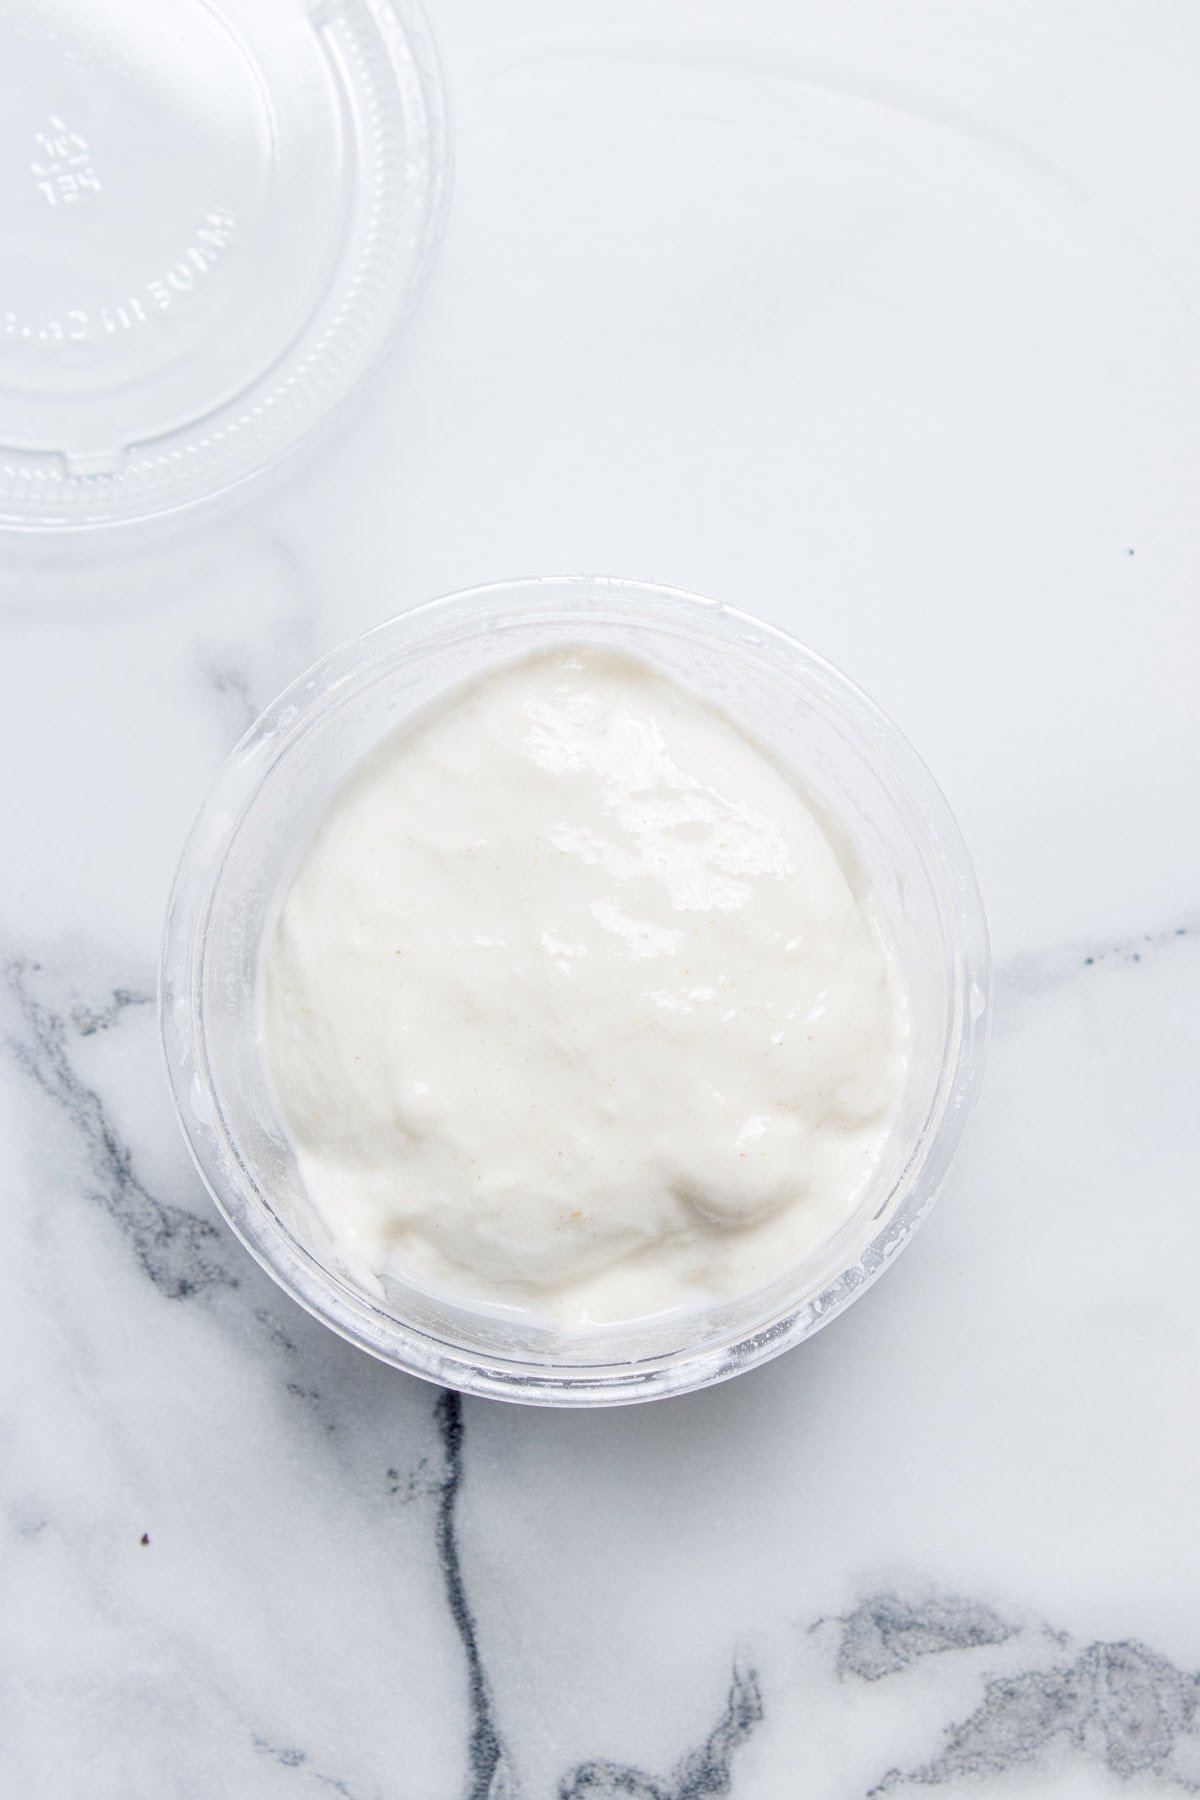
Take approximately 40 g of dough and place it into a small clear container (a 2 oz cup works perfectly).
This mini portion will:
Rise at the same rate as your main dough, show you fermentation progress visually and tell you exactly when bulk fermentation is complete. Make sure it is either on top of or beside your main dough.
Step 4: Bulk Fermentation
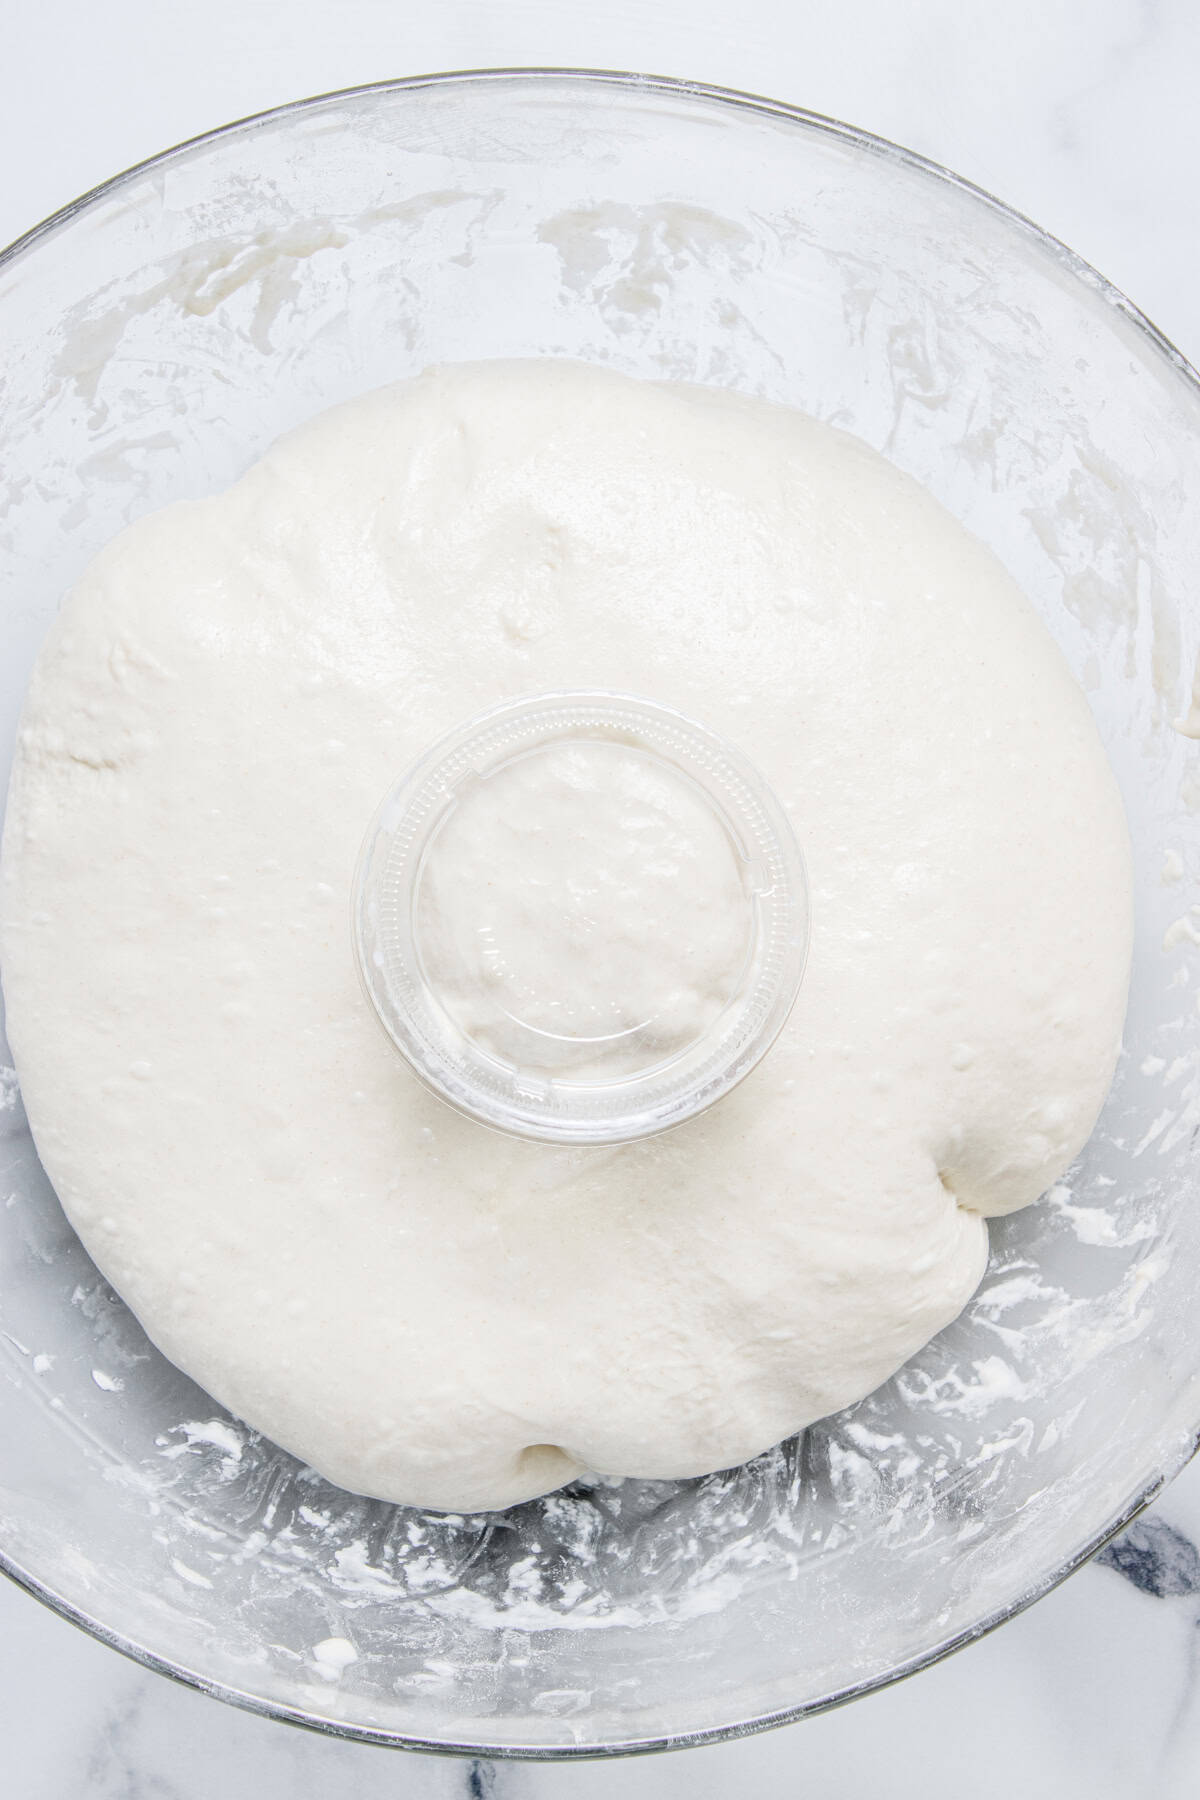
Let the dough ferment until it becomes noticeably puffy, light, and jiggles when you gently shake the bowl.
Using the aliquot jar:
When the mini dough touches the top of the 2 oz cup, your bulk fermentation is done. This typically takes 3–5 hours at 75–78°F.
If you're not using an aliquot jar, look for these signs:
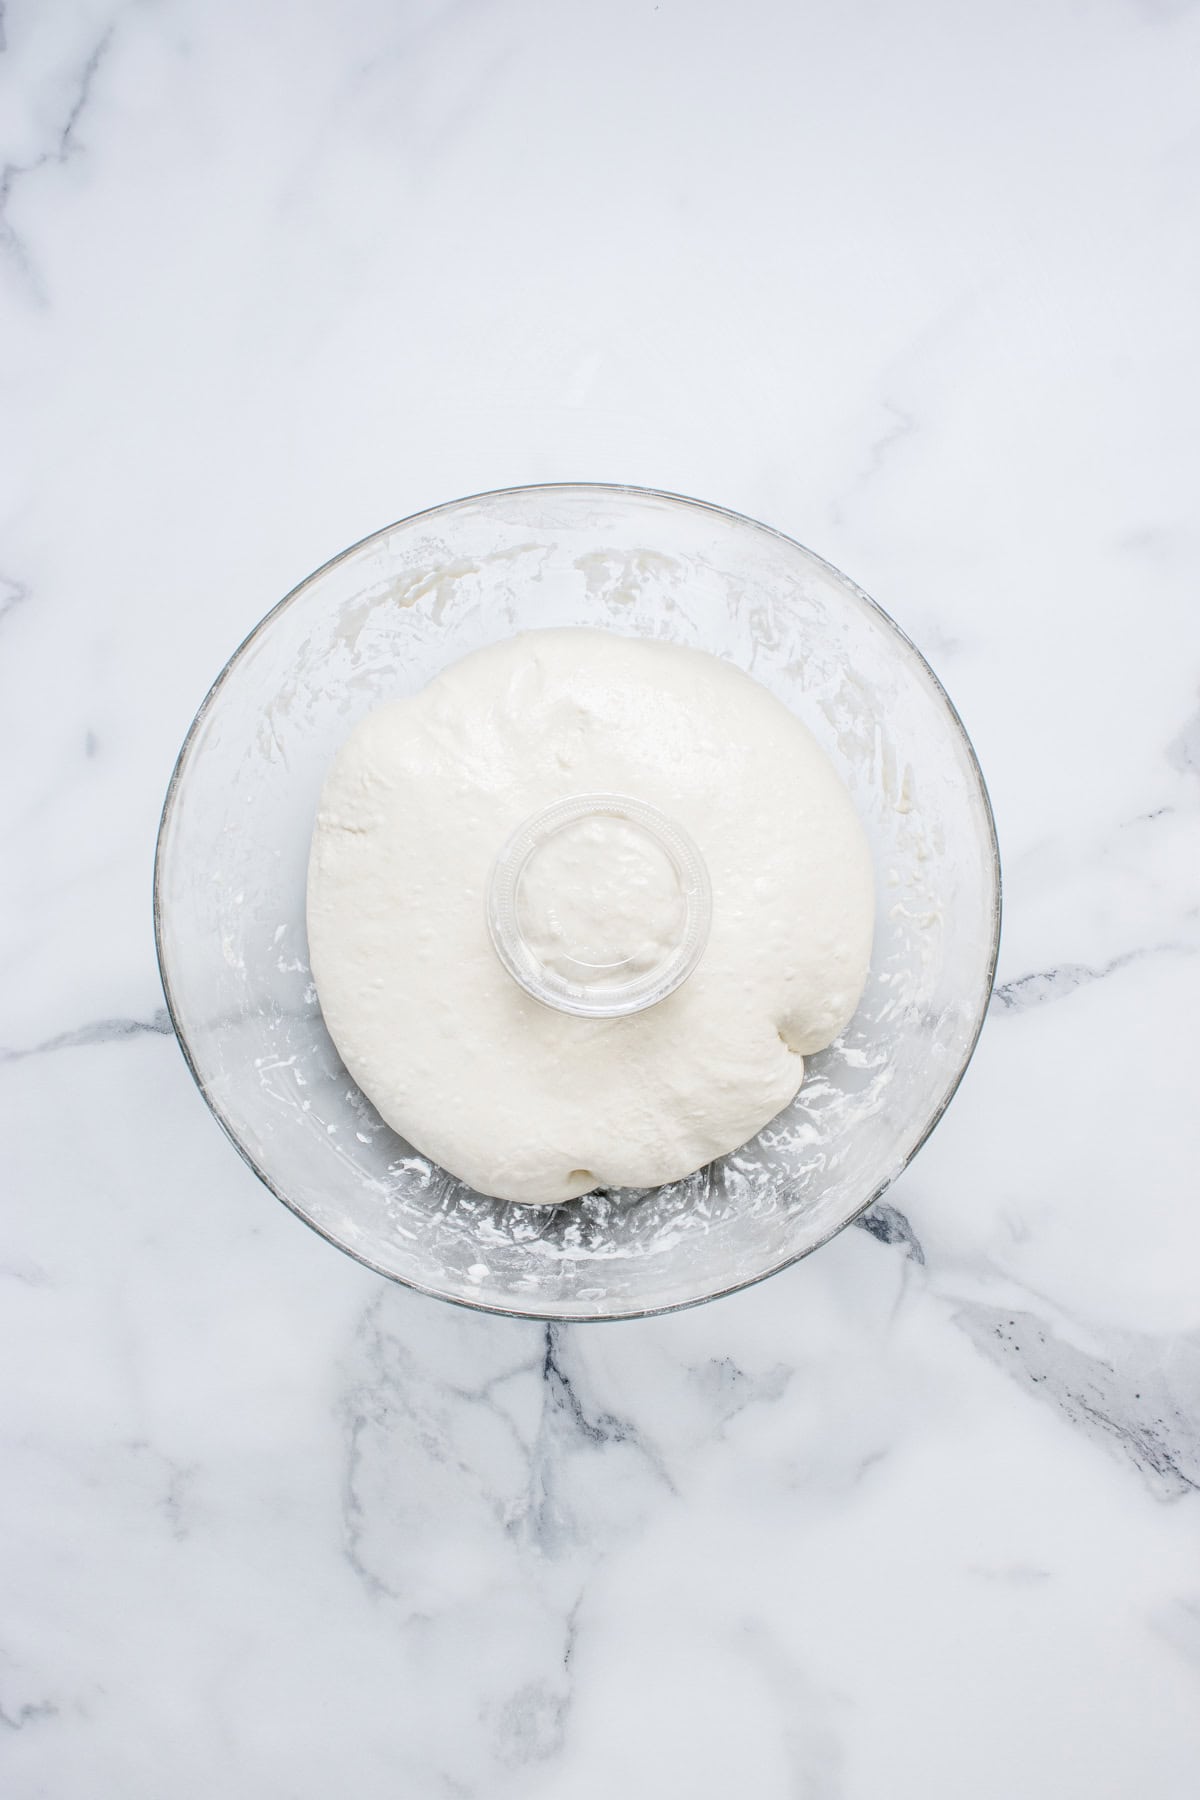
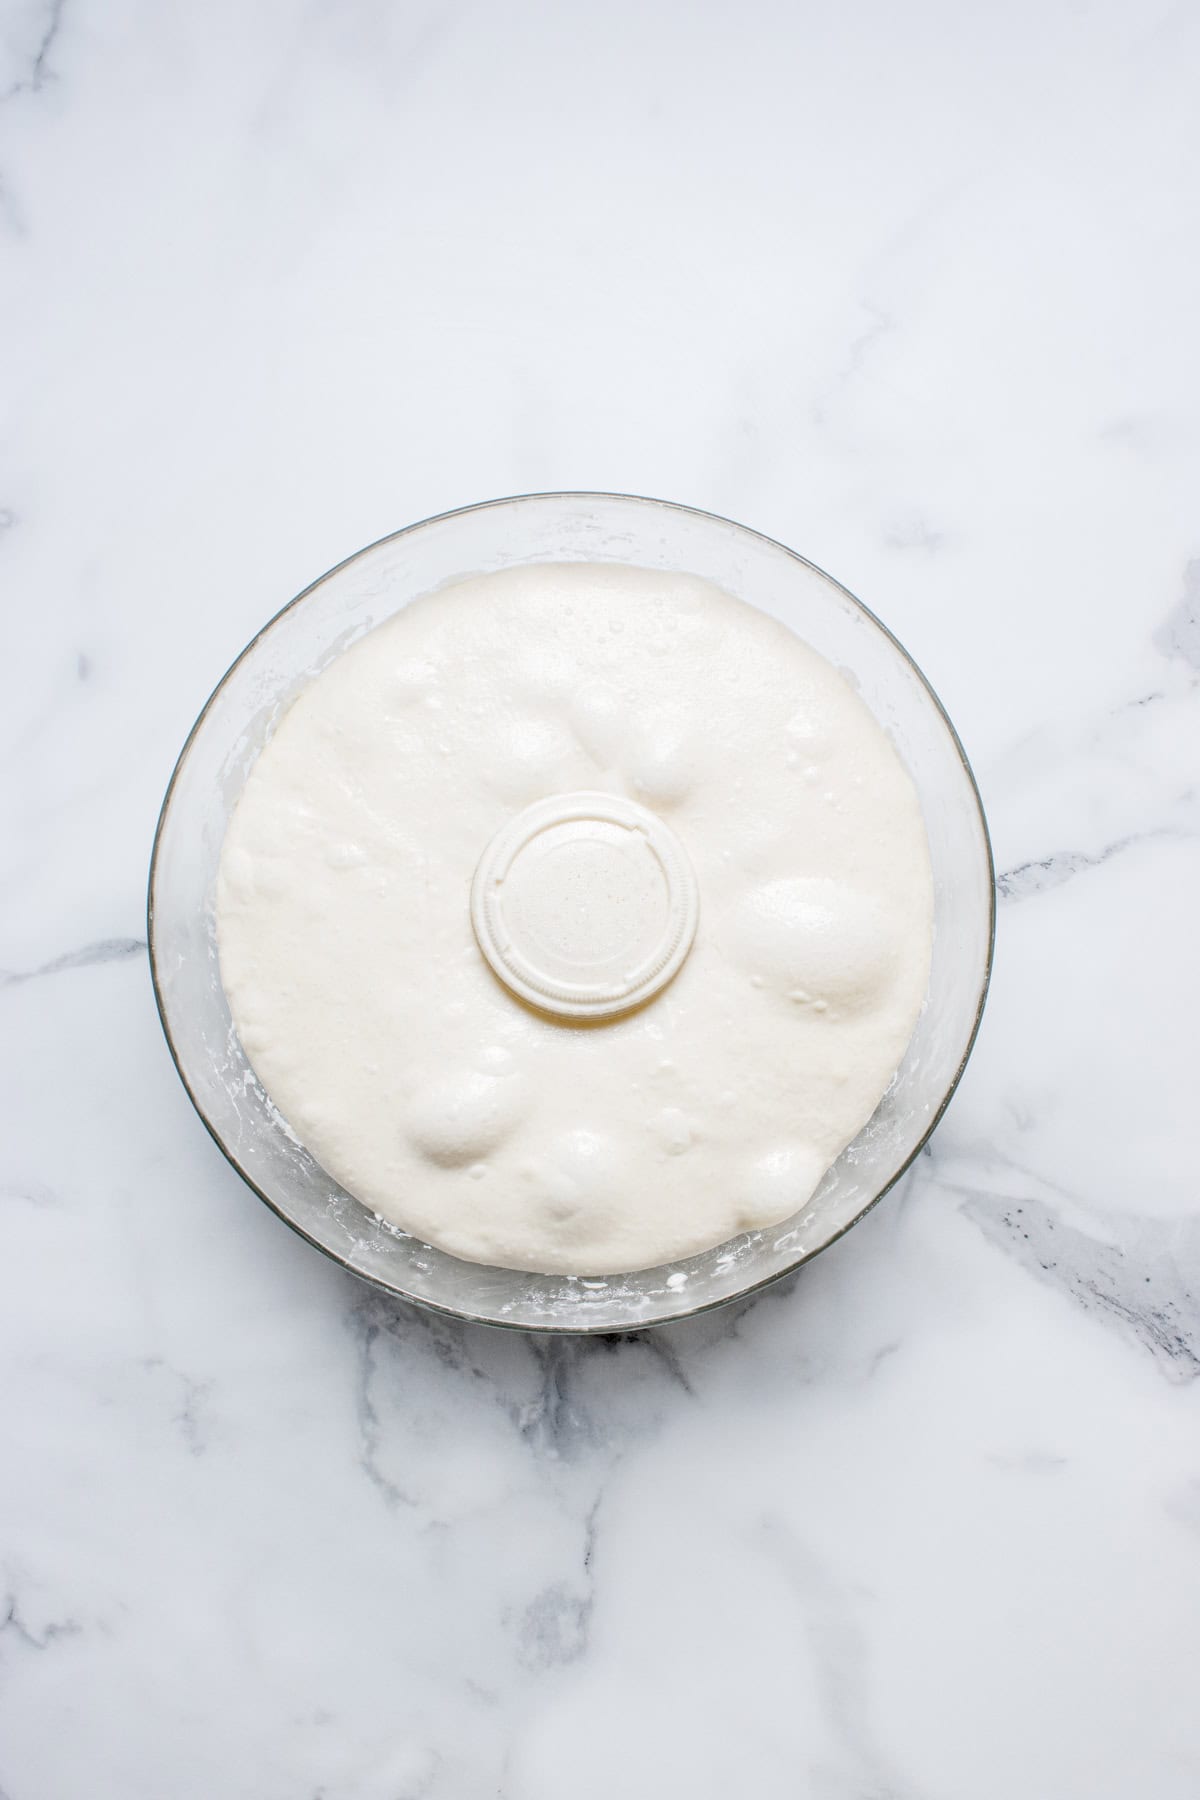
The dough has increased roughly 50–75% in volume
Surface shows visible bubbles
The dough jiggles with movement
It feels airy, not dense
Step 6: Layer the Chocolate
This step creates intentional chocolate distribution throughout the loaf.
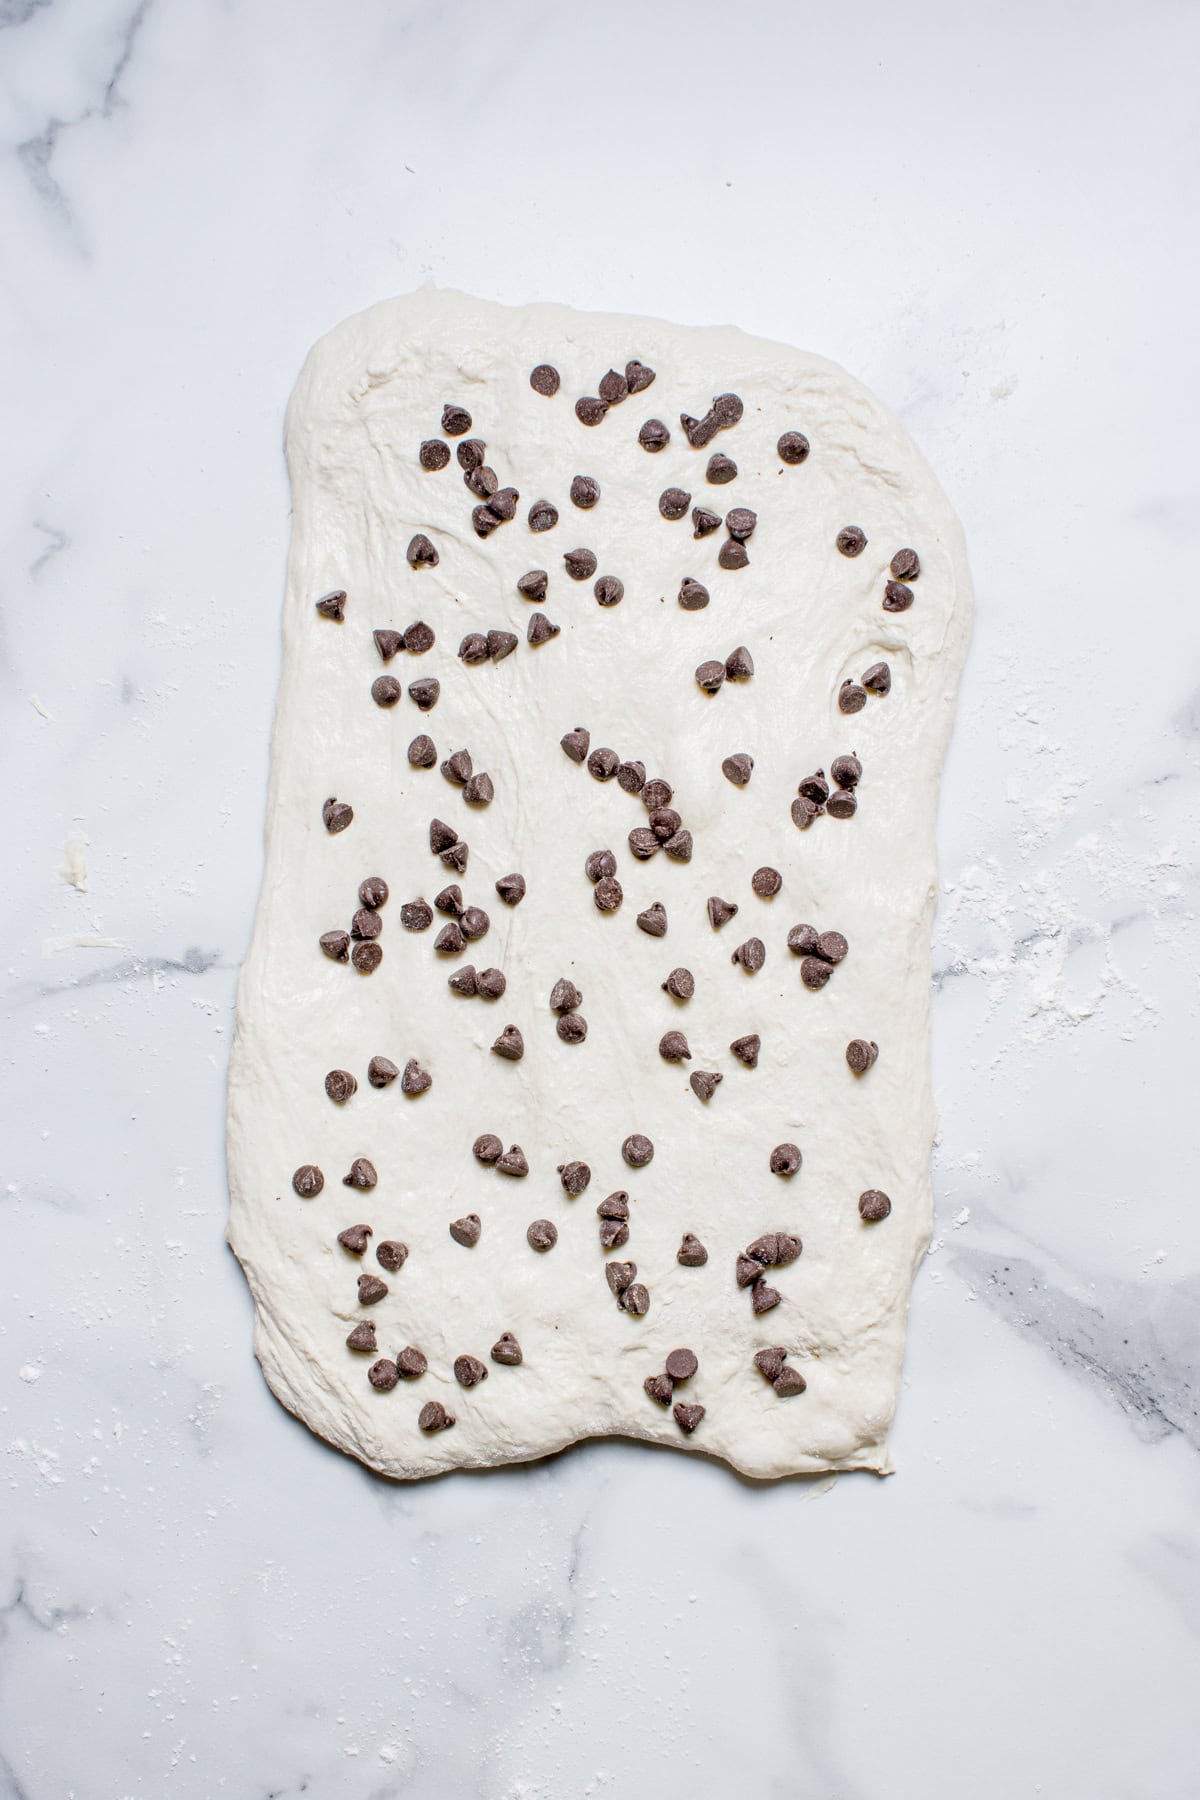
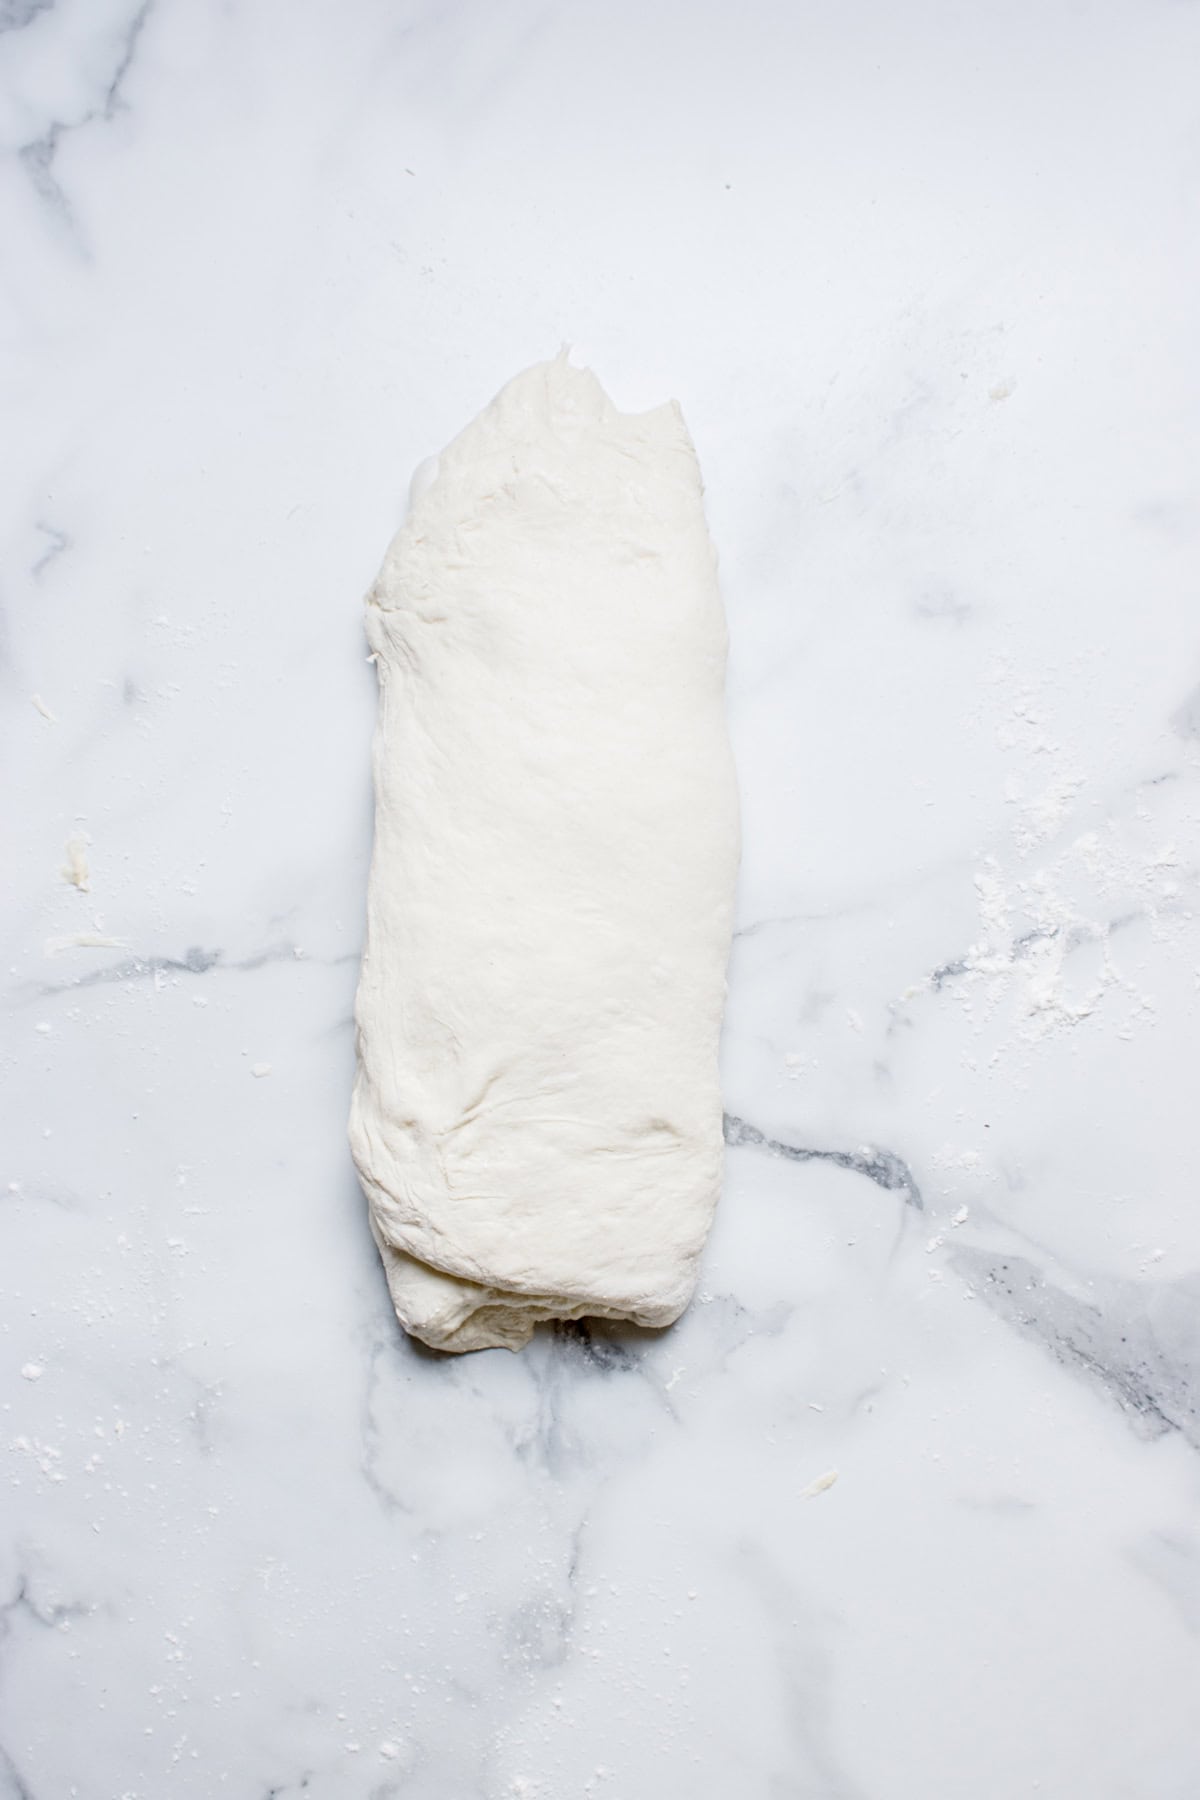
Lightly flour the dough if it's sticky. Using your hands, gently flatten it into a rectangle and sprinkle 60 g of chocolate chips evenly over the surface. Fold the bottom third upward, fold the top third downward (like folding a letter).
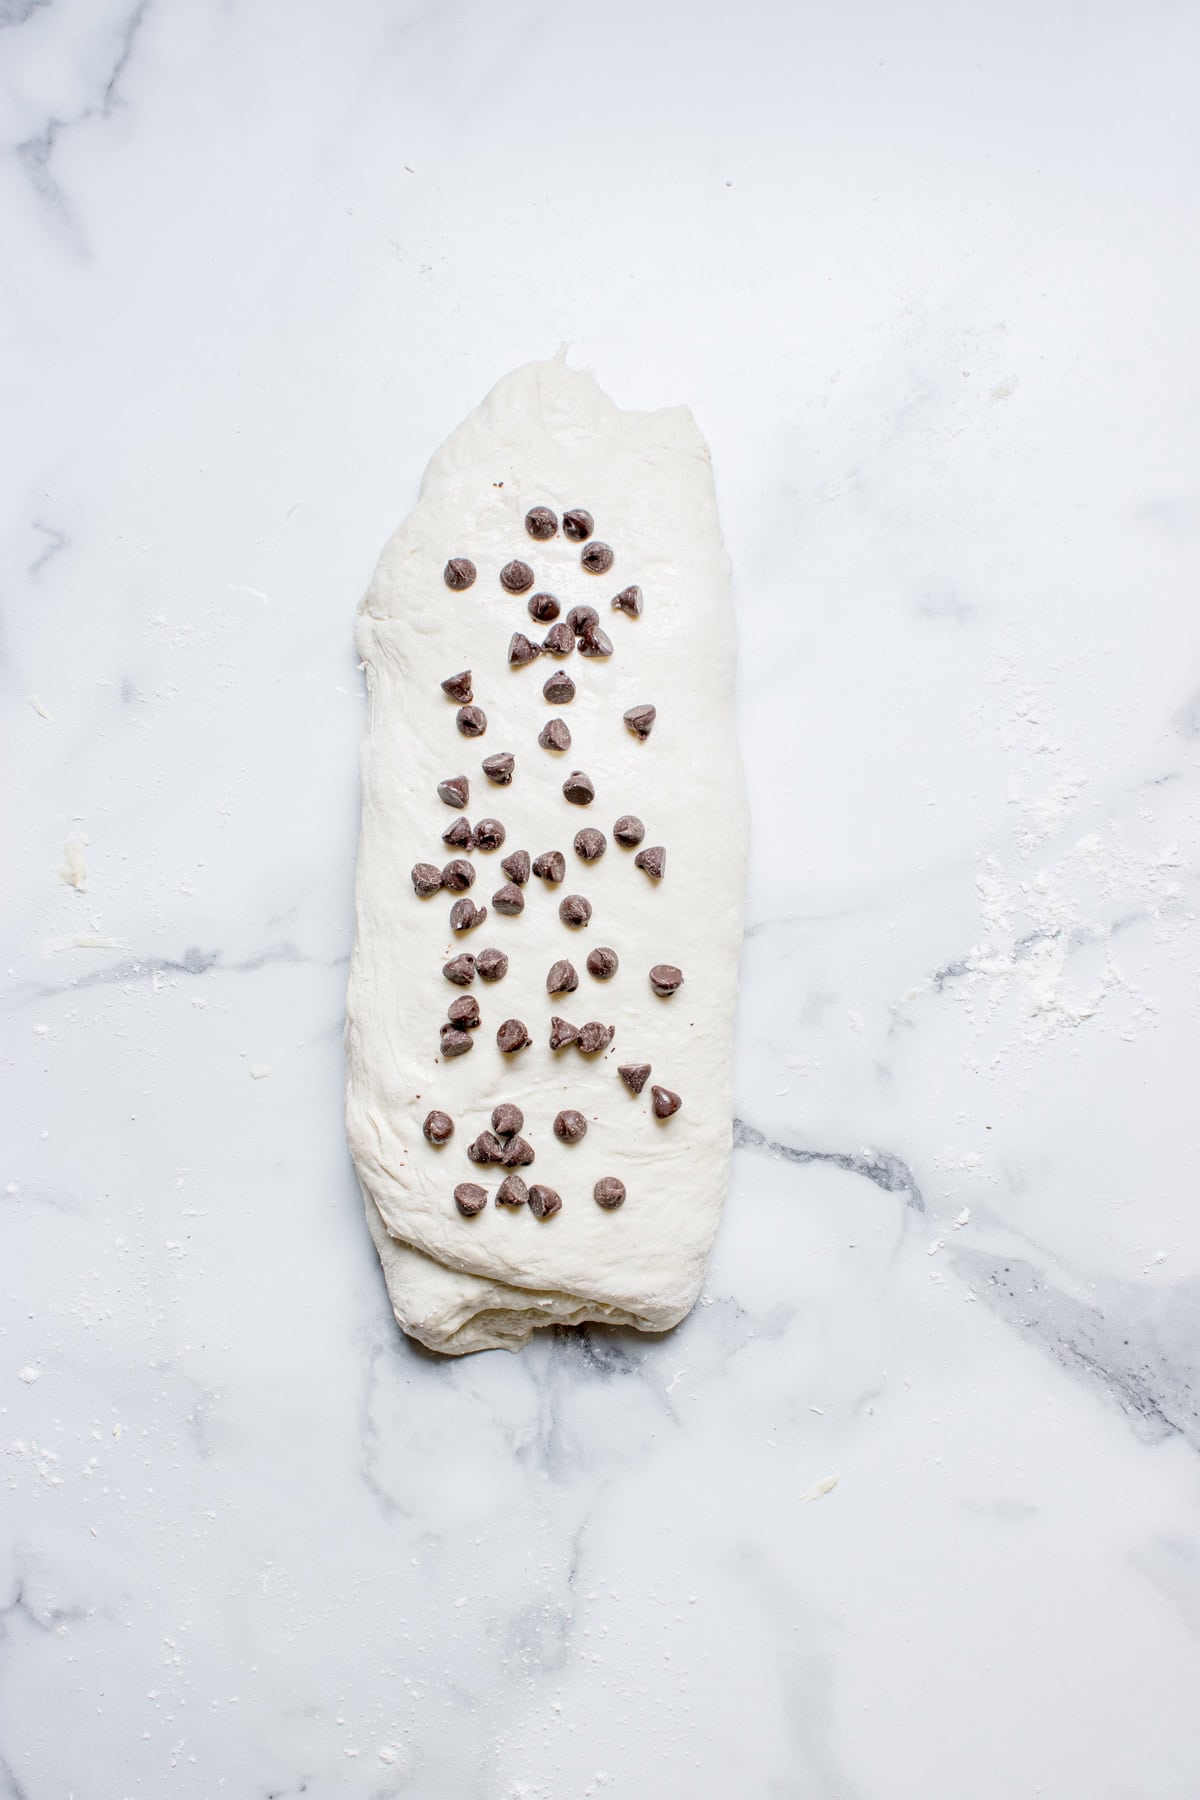
Sprinkle the remaining 60 g of chocolate chips over the folded dough.
Starting from the short end, roll the dough tightly into a log, like you are rolling a burrito.
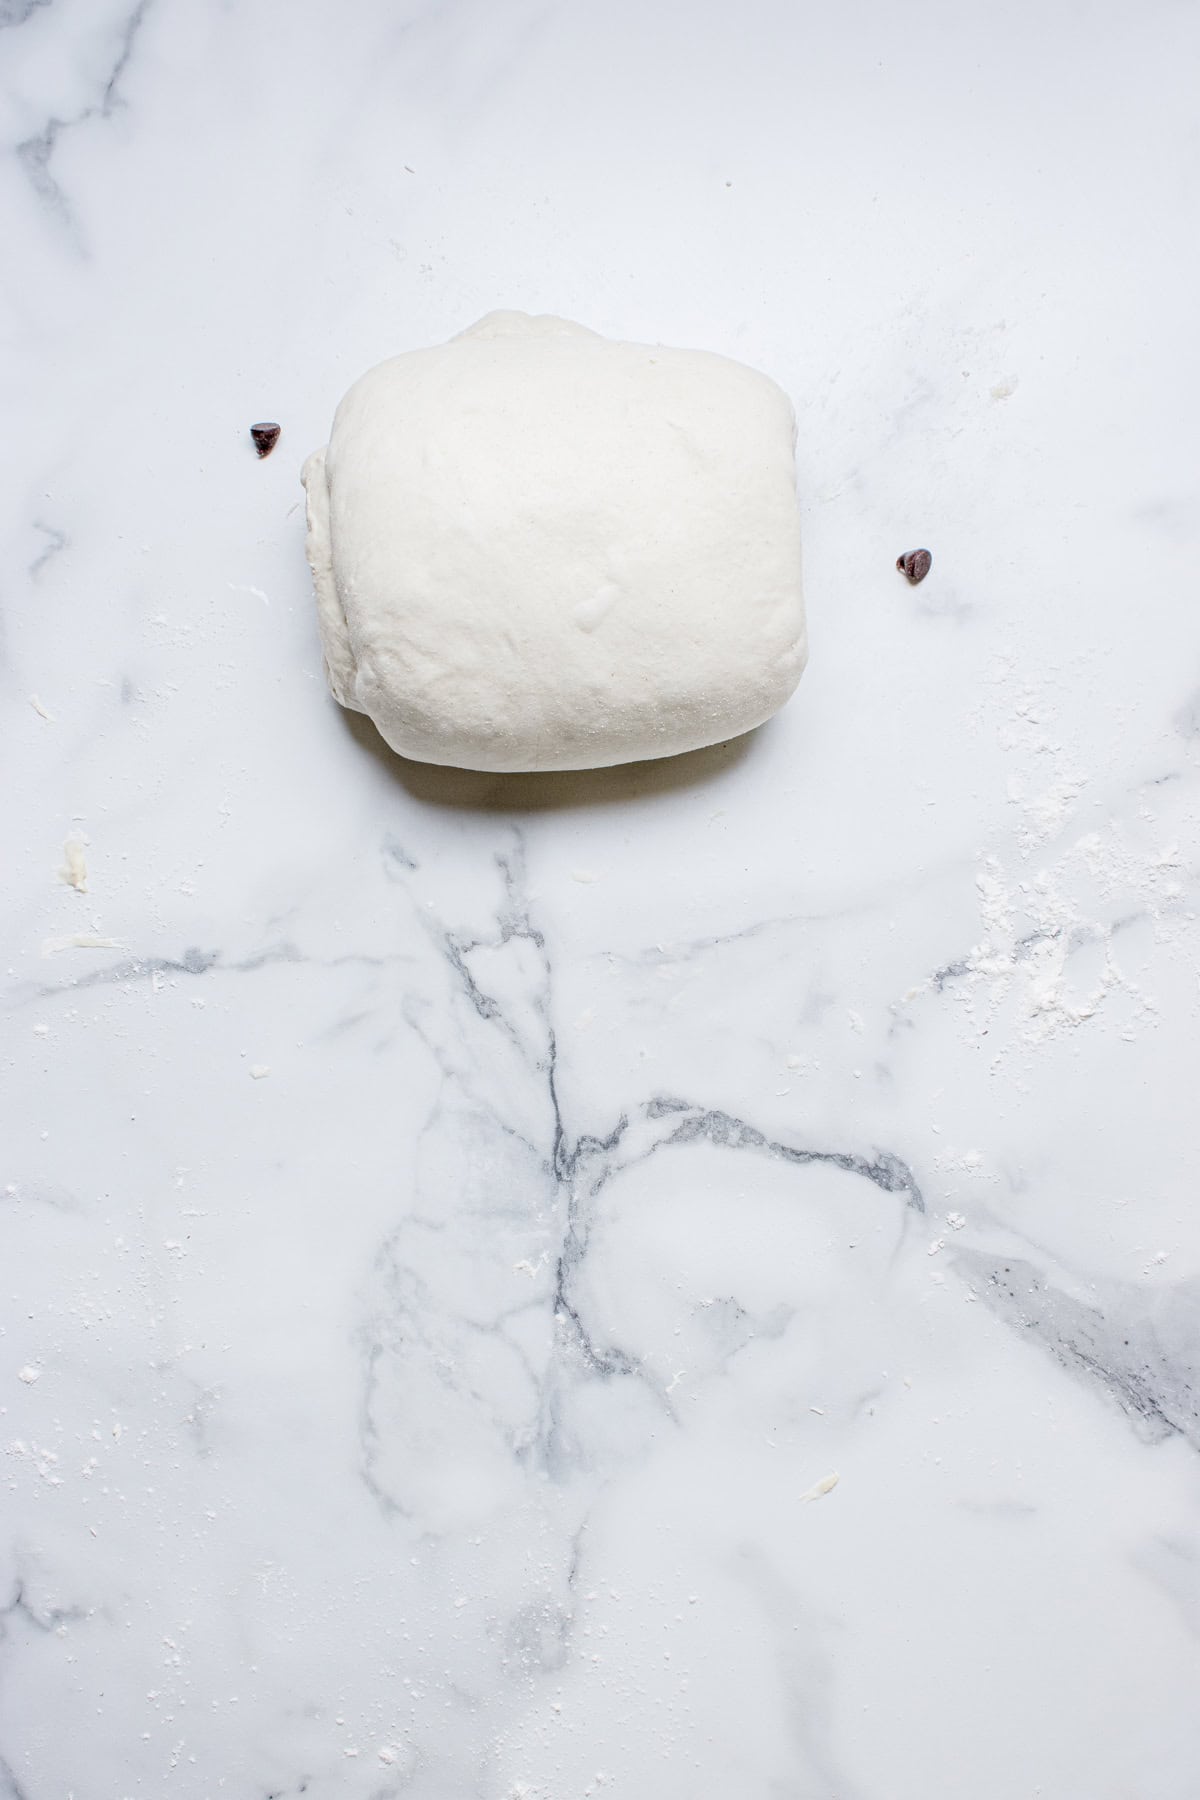
Step 7: Final Shape
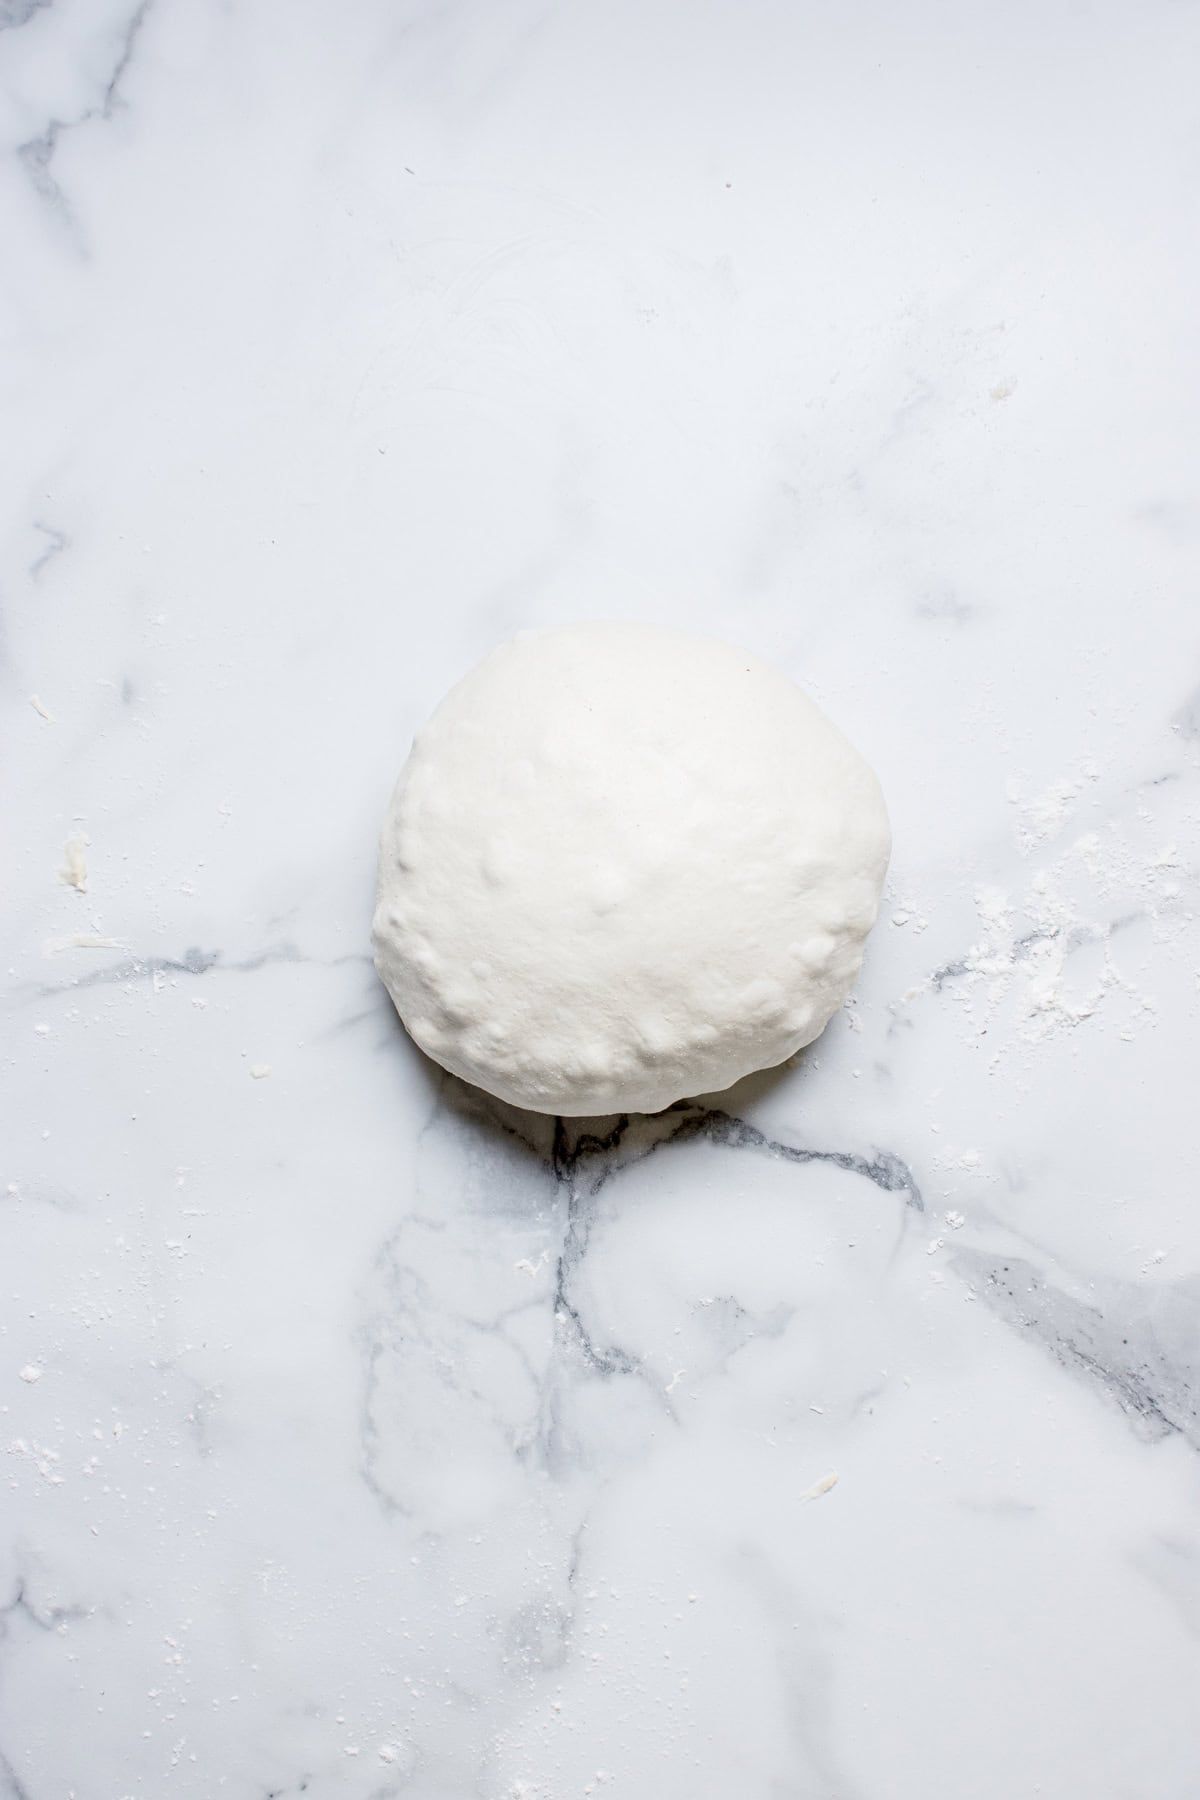
Now tighten the dough gently. Place it seam-side up. Tuck the ends under, rolling and tucking until the surface feels smooth and slightly tensioned.
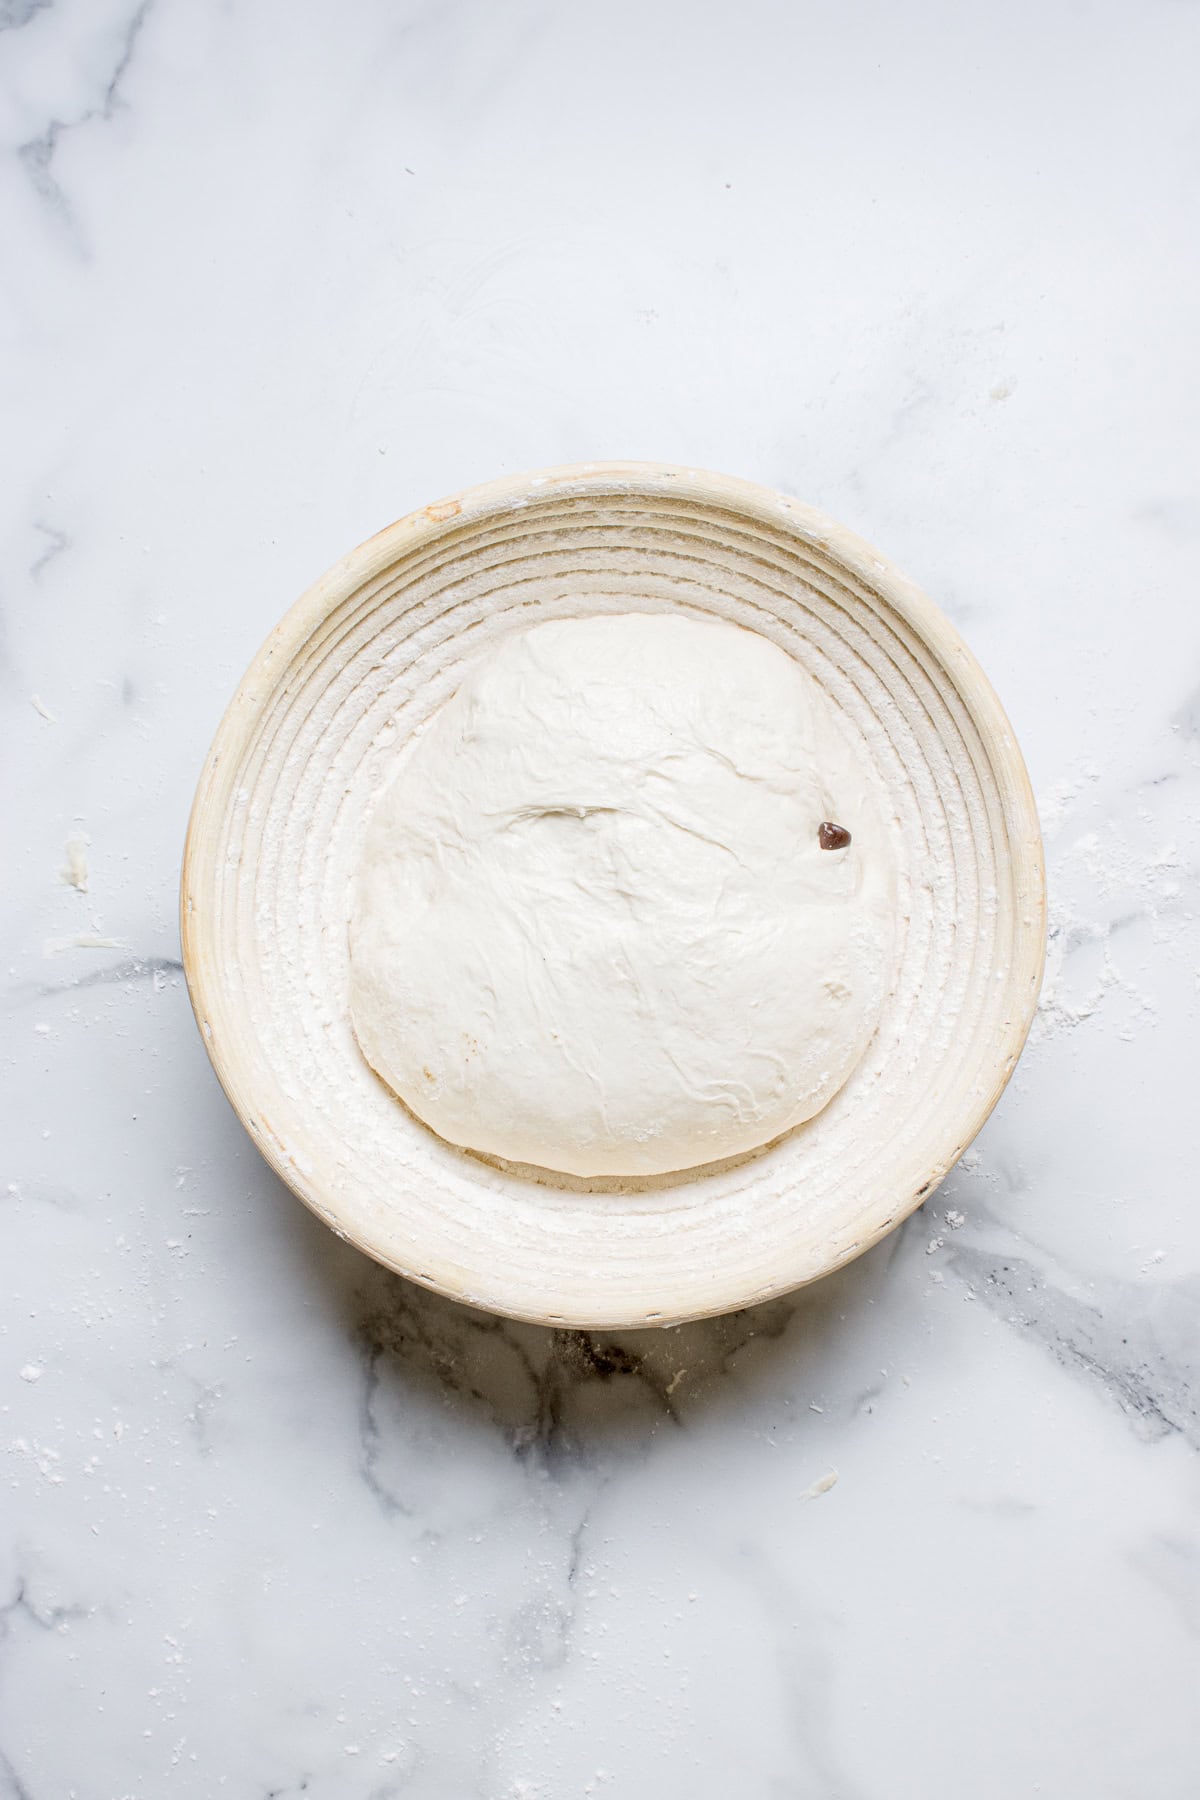
Flip it seam-side down and place it into a banneton (proofing basket) dusted with rice flour. If you don't have a banneton, use a bowl lined with a well-floured kitchen towel.
Step 8: Cold Proof Overnight
Refrigerate the dough for 8–16 hours.
Cold fermentation develops: Deeper, more complex flavor, a stronger dough structure, cleaner, sharper scoring definition and better oven spring.
Step 9: Prepare for Baking
30 minutes before baking, preheat your oven to 500°F (260°C) with a Dutch oven inside. While the oven preheats, remove the dough from the fridge and gently turn it onto a piece of parchment paper (seam-side down).
Step 10: Bake
Score the top with a sharp razor blade or lame. I like to aim for a quarter-inch depth at a 30-degree angle.
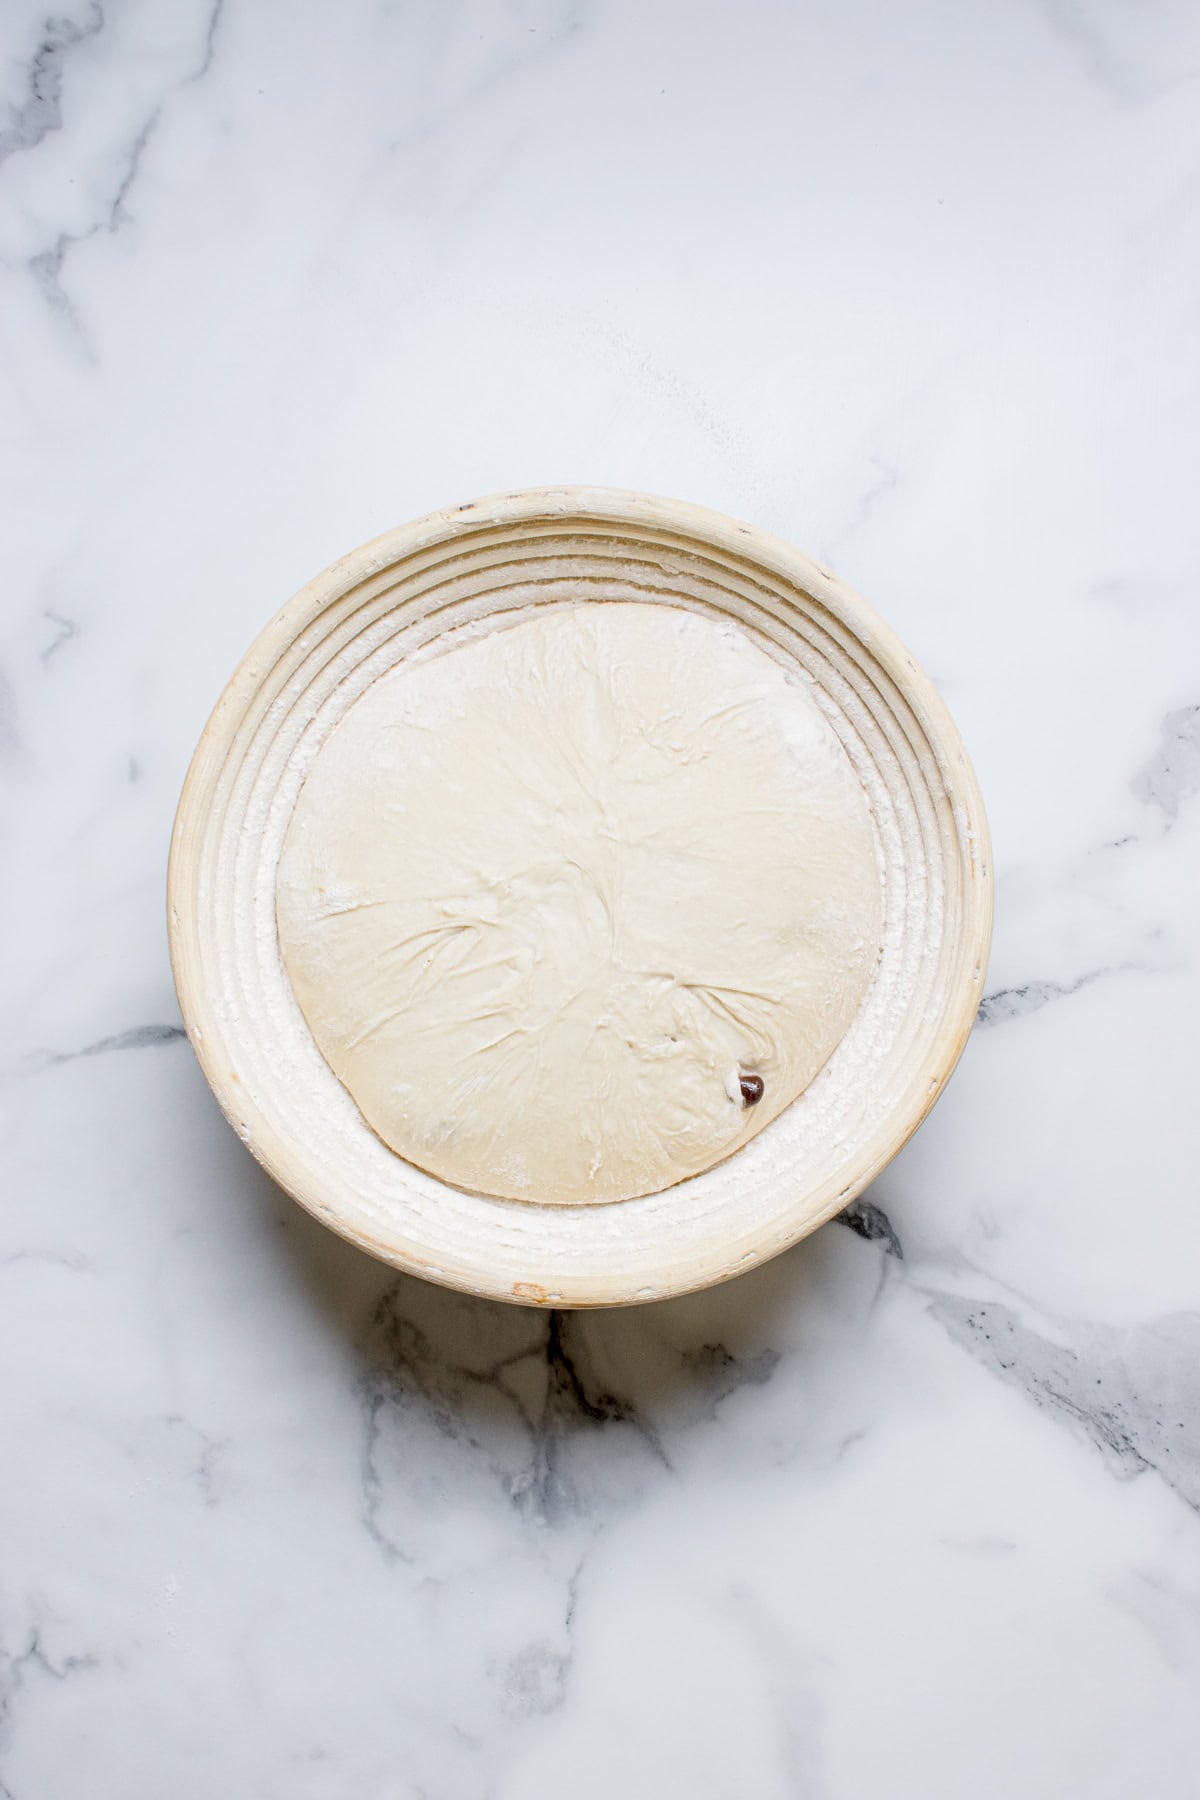
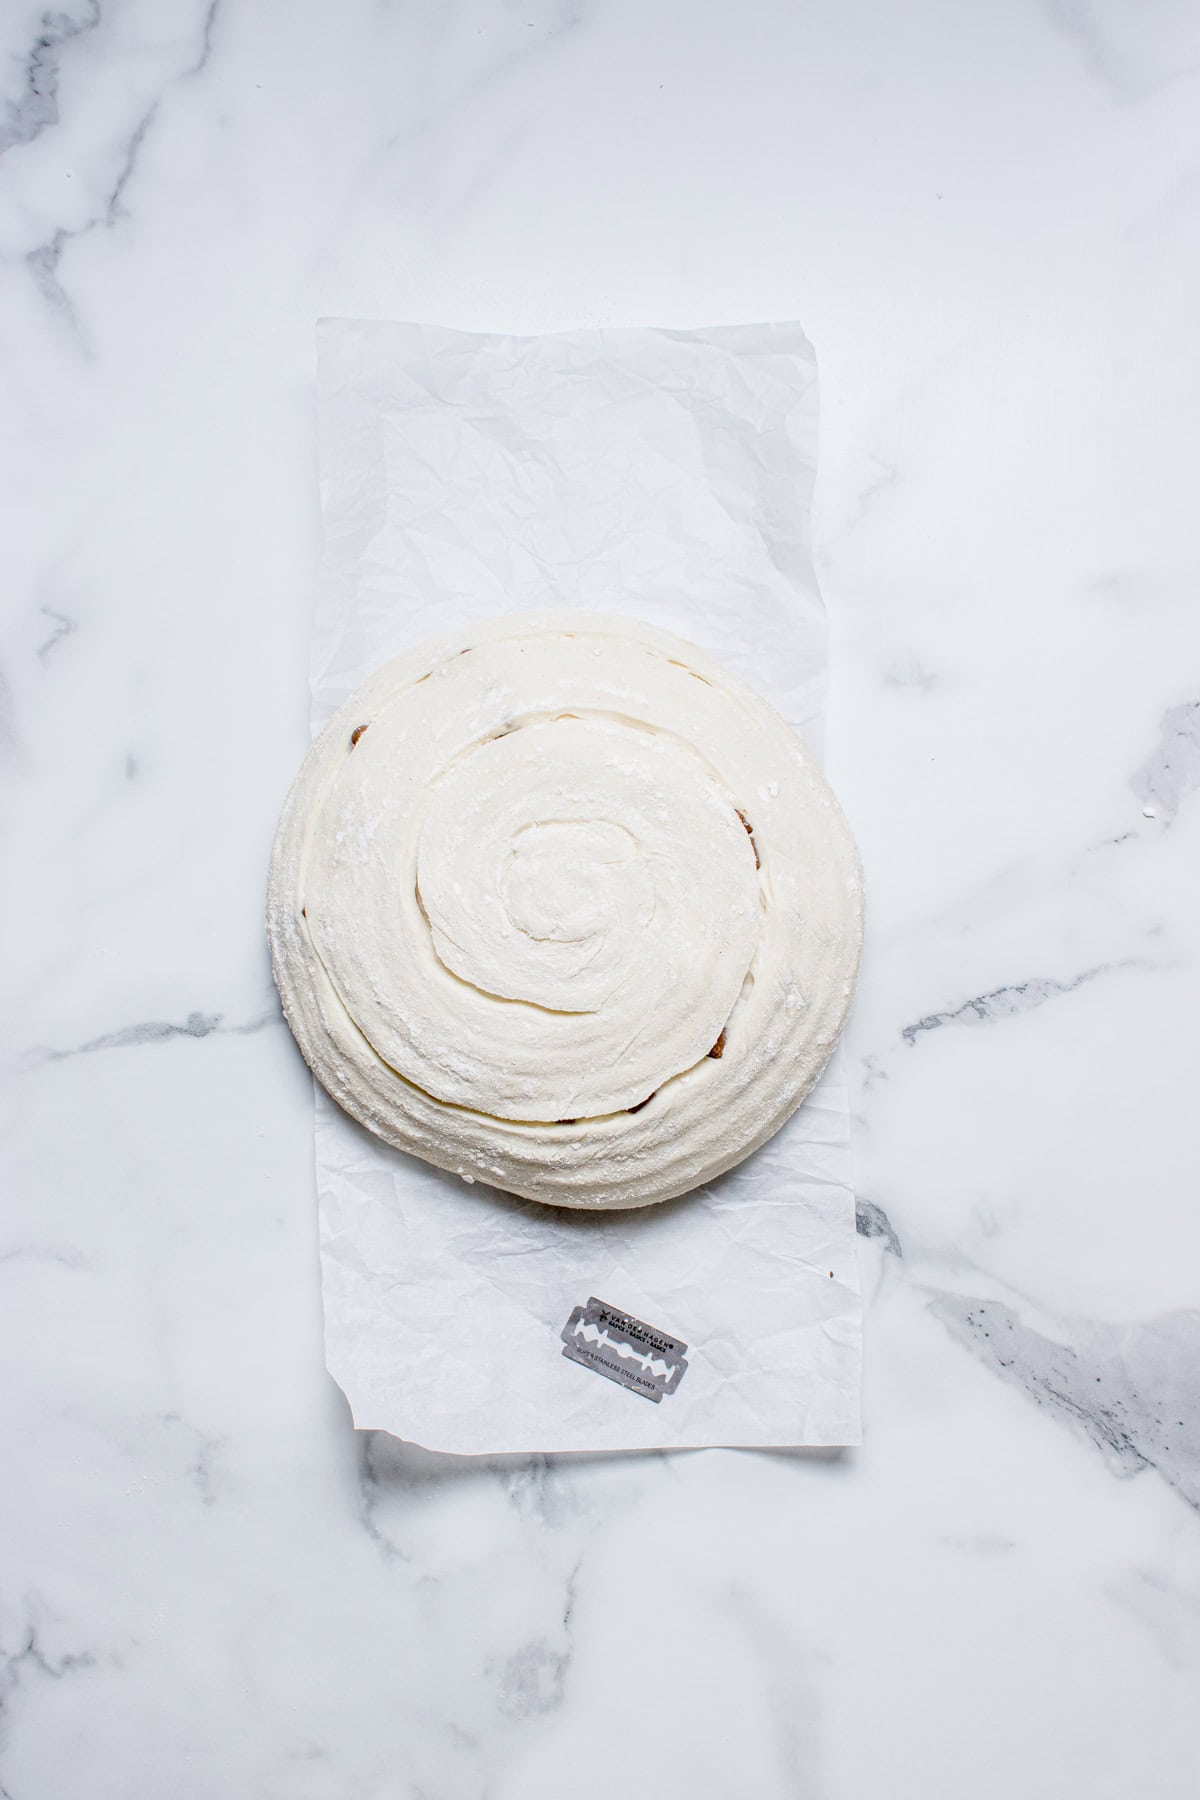
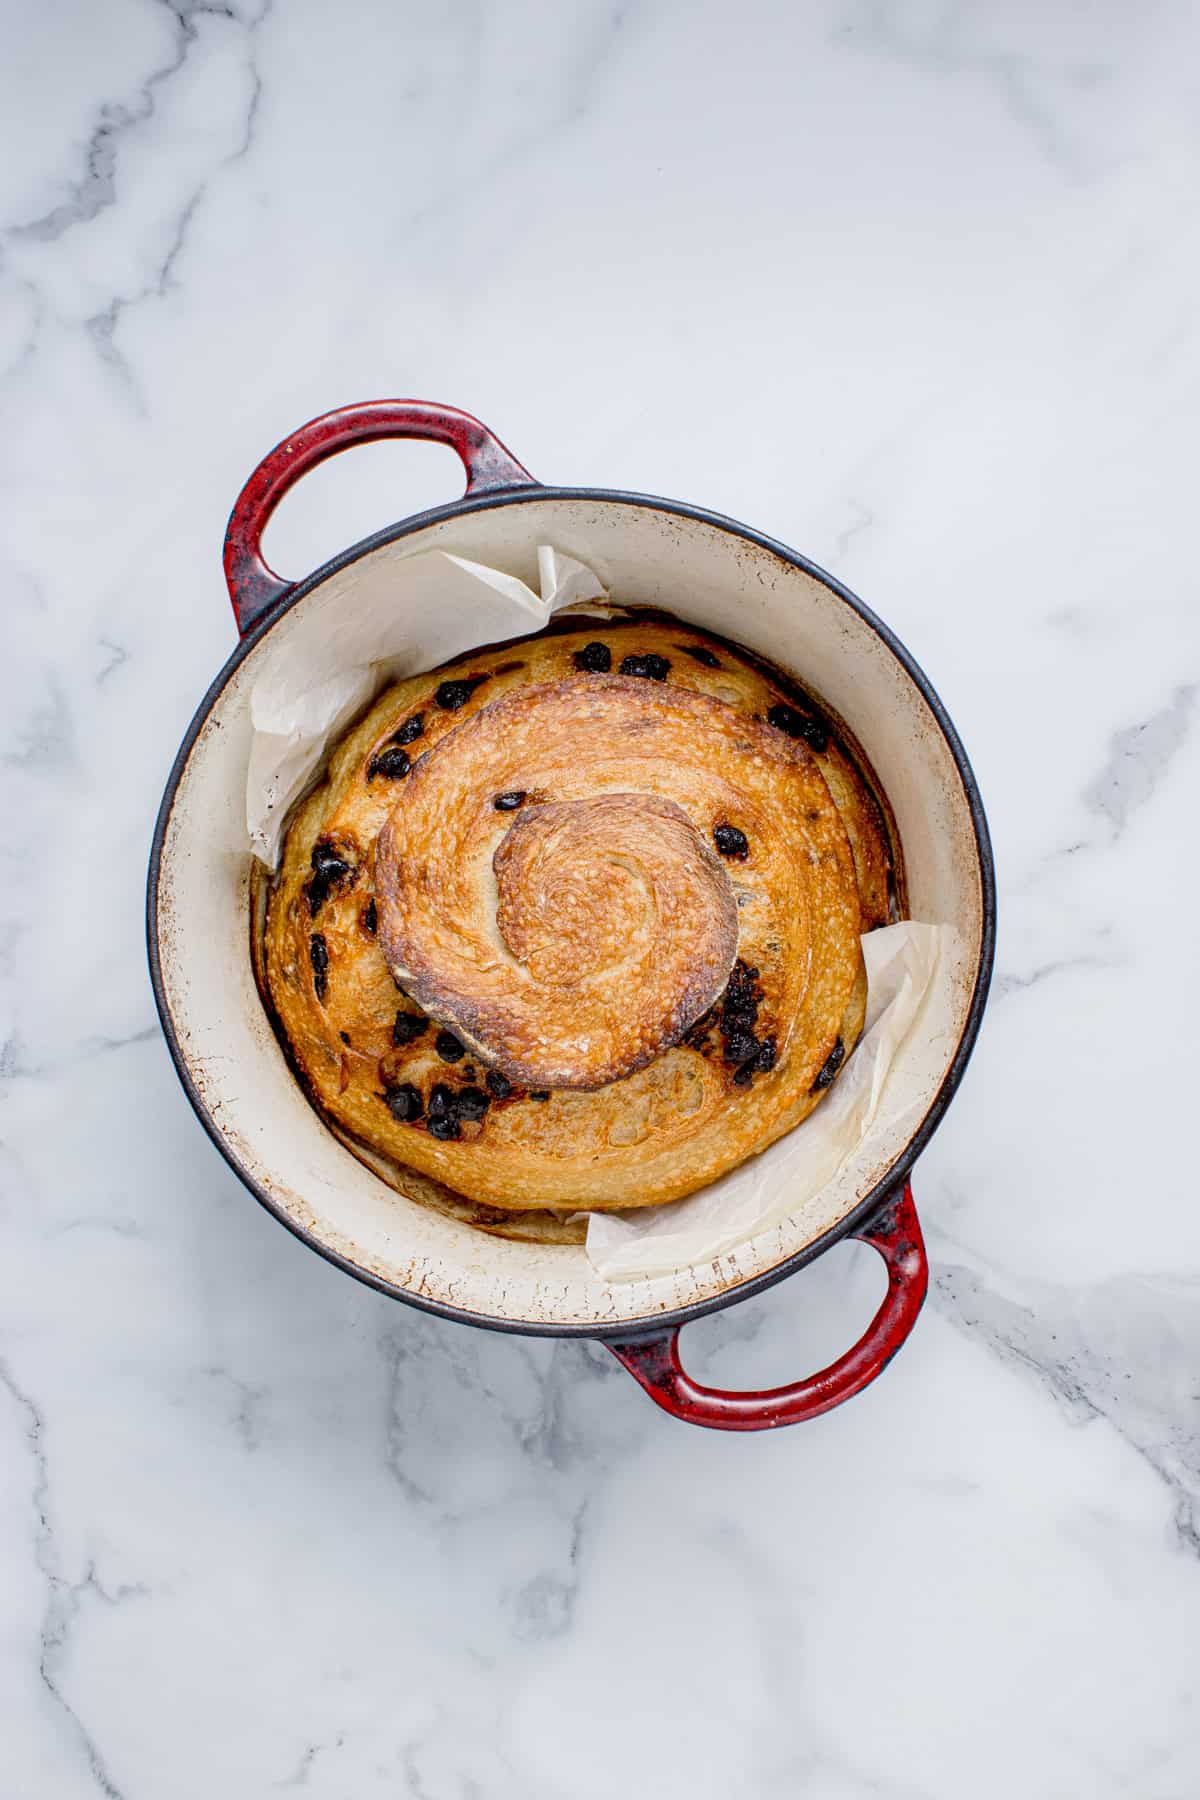
Carefully remove the hot Dutch oven from the oven. Place the parchment paper with the dough inside the pot and cover it with the lid. Bake the bread covered for 30 minutes.
Remove the lid and bake it uncovered for 10–15 minutes until the crust is deep golden brown. If the top is browning too quickly, tent it loosely with foil. That's what I usually do.
Step 11: Cool Completely
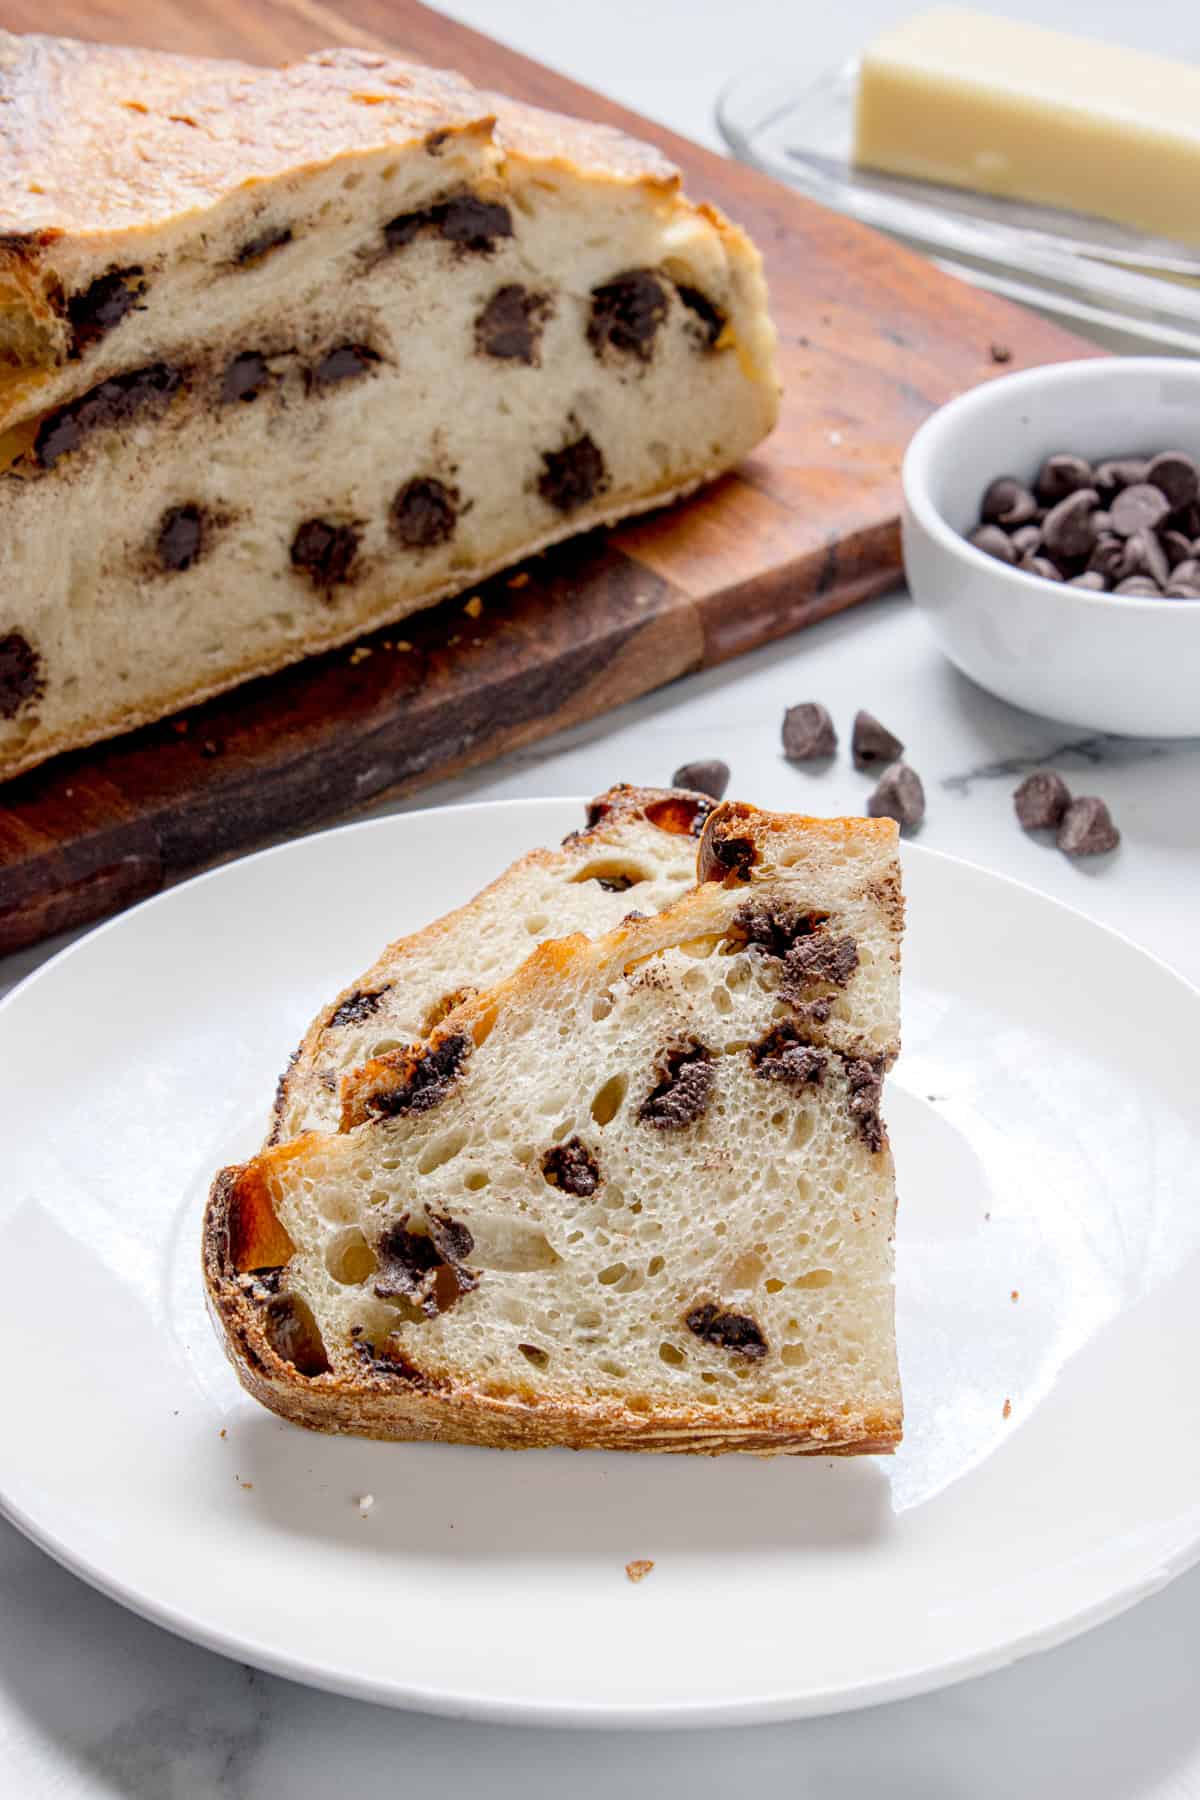
Remove the bread from the Dutch oven and let it cool on a wire rack for at least 1 hour before slicing. This cooling period allows the crumb structure to fully set and lets the chocolate firm up so it doesn't smear too much when you slice.
Recipe Tips and Tricks
Keep the dough between 75–78°F for predictable fermentation.
Don't rush bulk fermentation. Wait for clear signs, not a timer.
Cool the loaf fully before slicing.
Use mini chocolate chips for a cleaner crumb structure.
Rotate the Dutch oven halfway through baking if your oven has hot spots.
If your kitchen runs cold, use slightly warmer water. If it runs hot, use cooler water.
Storage and Reheating
Room Temperature: Wrap the cooled bread in a clean kitchen towel or place it in a bread bag. It usually stays fresh for 1–2 days.
Freezing: The best long-term option. Slice the bread and freeze them in a labeled freezer bag for up to 2 months.
Reheating: Toast the slices directly from frozen, or warm them in an oven or air fryer at 325°F for 5–8 minutes.
Your Questions Answered
You can, but you'll lose flavor development, structural strength, and scoring control. The difference is noticeable.
It mirrors your main dough's fermentation exactly. When it touches the top of the lid, your dough is ready for shaping. This removes the guesswork.
It is most likely overproofed. You may have left it too long in bulk fermentation or skipped or rushed the folds.
In a Dinner Rut?
Sign up for our newsletter!
Please Rate this Recipe!
We hope you love this Chocolate Chip Sourdough Bread! If you make it, be sure to leave a rating so we know how you liked it!
More Recipes You'll Love
Looking for other easy and delicious recipes? Try these:


Recipe
Chocolate Chip Sourdough Bread
Ingredients
Method
- In a large mixing bowl add the sourdough starter and water. Whisk until the starter fully dissolves and the mixture looks milky and uniform. Then add flour, salt and mix them all until no dry flour remains. The dough will look shaggy, sticky, and uneven. Cover the bowl and let the dough rest for 30 minutes.
- Instead of kneading, you’ll build dough strength through gentle folding over time.How to do itLightly wet your hand and grab one side of the dough, stretch it upward until it resists then fold it over the center.Rotate the bowl 90 degrees and repeat this until all four sides are folded (this is one complete set).Perform 3 complete sets of stretch and folds. Be sure to space them 30 minutes apart. After the final set, cover the dough and let it rest.
- This simple method removes guessing from bulk fermentation.Take approximately 40 g of dough and place it into a small clear container (a 2 oz cup works perfectly). This mini portion will:Rise at the same rate as your main dough, show you fermentation progress visually and tell you exactly when bulk fermentation is complete. Make sure it is either on top of or beside your main dough.
- Let the dough ferment until it becomes noticeably puffy, light, and jiggles when you gently shake the bowl.
- This step creates intentional chocolate distribution throughout the loaf.Lightly flour the dough if it's sticky. Using your hands, gently flatten it into a rectangle and sprinkle 60 g of chocolate chips evenly over the surface. Fold the bottom third upward, fold the top third downward (like folding a letter).Sprinkle the remaining 60 g of chocolate chips over the folded dough.Starting from the short end, roll the dough tightly into a log, like you are rolling a burrito.
- Now tighten the dough gently. Place it seam-side up. Tuck the ends under, rolling and tucking until the surface feels smooth and slightly tensioned.Flip it seam-side down and place it into a banneton (proofing basket) dusted with rice flour. If you don't have a banneton, use a bowl lined with a well-floured kitchen towel.
- Refrigerate the dough for 8–16 hours.Cold fermentation develops: Deeper, more complex flavor, a stronger dough structure, cleaner, sharper scoring definition and better oven spring.
- 30 minutes before baking, preheat your oven to 500°F (260°C) with a Dutch oven inside. While the oven preheats, remove the dough from the fridge and gently turn it onto a piece of parchment paper (seam-side down).Score the top with a sharp razor blade or lame. I like to aim for a quarter-inch depth at a 30-degree angle.
- Carefully remove the hot Dutch oven from the oven. Place the parchment paper with the dough inside the pot and cover it with the lid. Bake the bread covered for 30 minutes.Remove the lid and bake it uncovered for 10–15 minutes until the crust is deep golden brown. If the top is browning too quickly, tent it loosely with foil. That's what I usually do.
- Remove the bread from the Dutch oven and let it cool on a wire rack for at least 1 hour before slicing. This cooling period allows the crumb structure to fully set and lets the chocolate firm up so it doesn't smear too much when you slice.

We'd Love to Hear From You