
For many home bakers, the mention of "ratios" might be nerve-wracking. And trust us, sourdough starter feeding ratios can sound confusing—especially if, like Kanyi, math isn't your strong suit. But understanding different feeding ratios is the best way to transform your sourdough bread journey.
Feeding ratios are the key to keeping your sourdough starter happy and working around your schedule. They let you call the shots, so you’re the boss of your starter—and not the other way around.
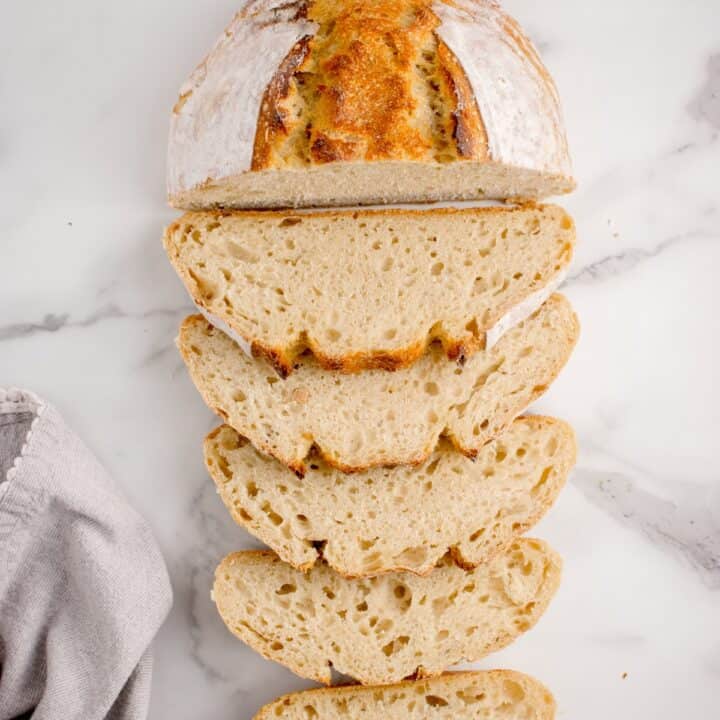
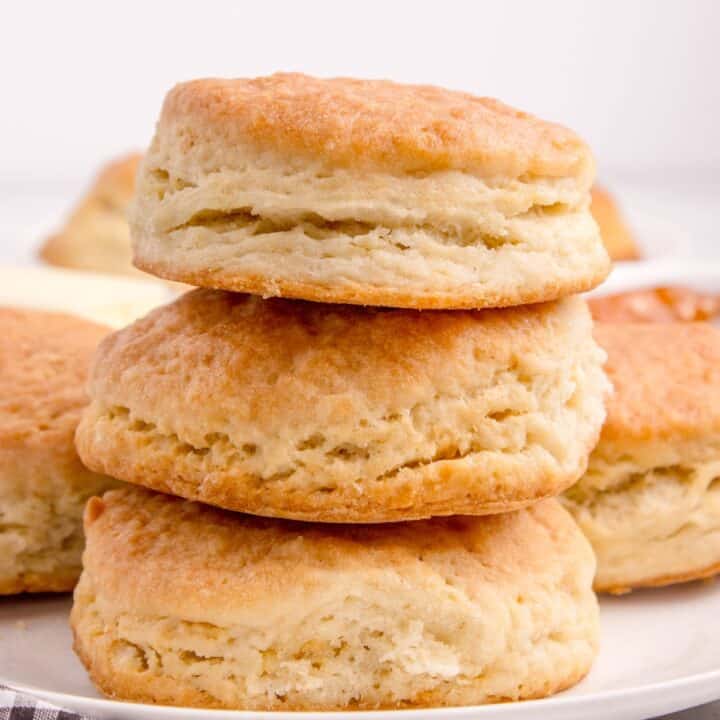
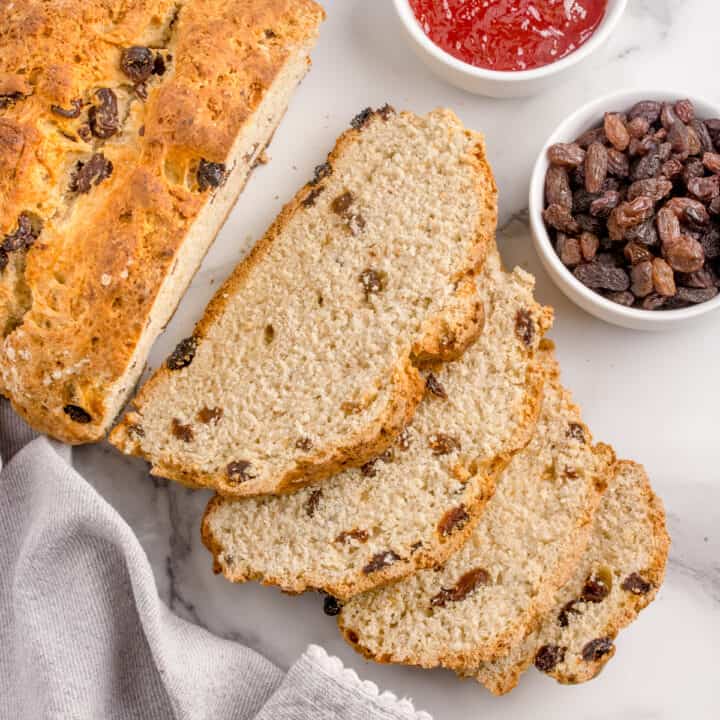
Looking for more easy Sourdough recipes? Try Sourdough discard crackers, Sourdough Discard Biscuits, Irish Sourdough Soda Bread and how to make a dehydrated sourdough starter.

Jump To Recipe
- What Are Feeding Ratios?
- Here's How It Works:
- Why Do Ratios Matter?
- Quick Summary of Different Times and Temperatures
- Signs That Your Starter Is Ready
- Pro Tips for Success:
- Timing and Temperature Considerations:
- You totally got this!
- Your Questions Answered
- In a Dinner Rut?
- Please Rate this Resource!
- Sourdough Recipes You'll Love
What Are Feeding Ratios?
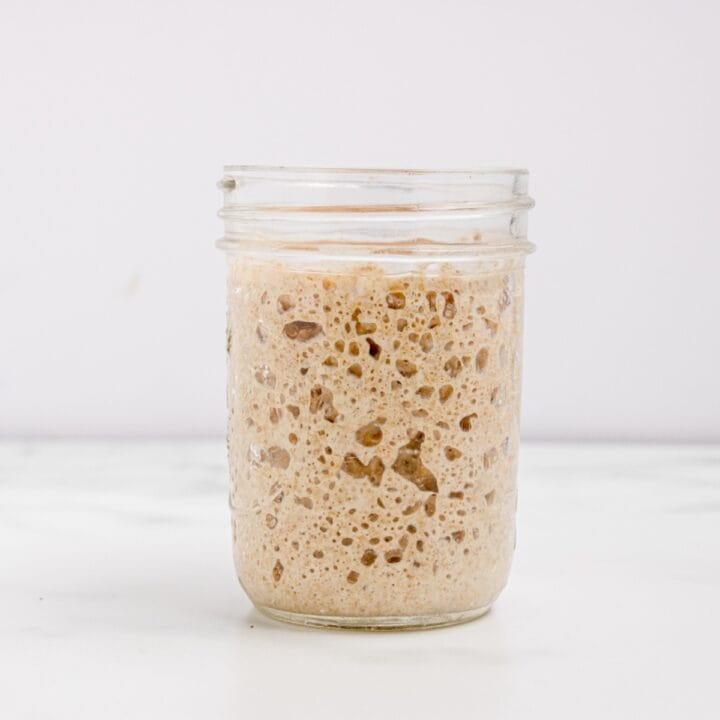
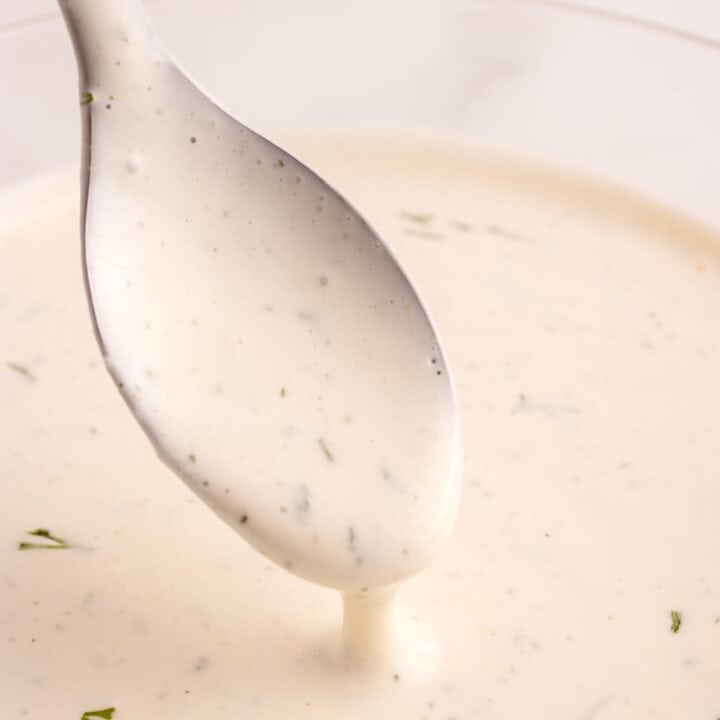
Feeding ratios are a straightforward method to measure how much active sourdough starter, fresh flour, and lukewarm water you need when feeding your starter. Think of your sourdough culture like a pet—it needs the right amount of food (flour and water) to maintain a healthy starter that's bubbly with wild yeast and lactic acid bacteria.
Each sourdough starter feeding ratio tells you exactly how much of each ingredient to use.
Here's How It Works:
A lower ratio of 1:1:1 means equal parts starter, flour, and water.
A higher ratio of 1:10:10 means 1 part starter, 10 parts flour, and 10 parts water.
The numbers always follow this order: starter:flour:water.
For successful sourdough starter maintenance, don't guess! Use a digital kitchen scale to measure the weight of the flour and water. For example:
1:1:1 Ratio Example: With 50g starter, add 50g flour and 50g water.1:10:10 Ratio Example: With 10g starter, add 100g flour and 100g water.
Why Do Ratios Matter?
Different sourdough starter ratios control how quickly your starter peaks and becomes active, which affects your bread dough development. It's all about peak time:
1:1:1 Ratio: This provides your liquid starter with less food, resulting in a quick rise—perfect for when you're planning to bake same-day sourdough bread.
1:10:10 Ratio: This offers your starter a larger amount of flour and water, slowing fermentation for an overnight rise and baking the next day.
Other Common Sourdough Ratios and Different Ways to Use Them
1:2:2 Ratio: A good thing for moderate rises, taking 6-8 hours. It works well with white flour starters in warmer temperatures.
Example: 25g starter + 50g flour + 50g water. Use it when your kitchen is warm but you don't want to rush things.
1:3:3 Ratio: Ideal for whole wheat starter or rye starters, it takes 8-10 hours.
Example: 30g starter + 90g flour + 90g water. Works well for moderate temperatures.
1:5:5 Ratio: Perfect for your own sourdough starter when you're planning a long time between frequent feedings.
Example: Use a small amount - 10g starter + 50g flour + 50g water. Best when maintaining a starter and you don't have immediate baking plans.
1:4:4 Ratio: This ratio works great for regular day feeding, especially with a starter that’s at room temperature.
Example: 20g starter + 80g flour + 80g water.

Quick Summary of Different Times and Temperatures
1:1:1: Quick rise, ready in 4-6 hours for same-day baking
1:2:2: Moderate rise, 6-8 hours for a relaxed bake
1:3:3: Slower rise, 8-10 hours for an evening bake
1:5:5: Best for long-term storage or infrequent use1:10:10: Slowest rise, 8-12 hours perfect for overnight proofing
Signs That Your Starter Is Ready
It Doubles in Size: Within 4-6 hours of feeding, your starter should double (or even triple) in size. We recommend marking your jar with a rubber band or Sharpie to keep track!
Bubbly and Alive: The inside and surface of the starter will be full of bubbles, showing it’s active and thriving.
Smells Just Right: A ready starter has a tangy, slightly fruity smell—pleasant and inviting.
Consistent Behavior: If it rises and falls predictably after feeding, congrats—you’ve got yourself a reliable starter that’s ready for bread baking!
Pro Tips for Success:
Mark your jar of starter with a rubber band or Sharpie to track its growth.
Experiment with different types of flour, such as bread flour, whole wheat flour, or rye flour.
Save extra starter for sourdough discard recipes.
Build your starter in the early afternoon to prepare for your next bake.
Plan ahead by considering the time needed before making your loaf of bread.
In a pinch, a cup of flour to a cup of water works, but weight measurements are more accurate.
Both room-temperature water and cold water work fine for feeding.
The type of flour affects fermentation—whole wheat and rye flours tend to be more active.
Timing and Temperature Considerations:
Remember that the temperature of your kitchen significantly impacts how your starter behaves. At warmer temperatures, fermentation speeds up, while at cooler temperatures, you'll need more time or a different feeding ratio strategy.
You totally got this!
With a little practice and understanding of how these ratios work, you'll find yourself in complete control of your starter, making the whole process feel a lot less intimidating. So, trust the ratios, experiment with what works best for you, and enjoy the process—because you’ve got this!
Your Questions Answered
Yes, you can freeze sourdough starter in an airtight container or freezer bag for up to 6 months. Thaw and feed it 1-2 times to reactivate before baking.
Yes, these feeding ratios work with dry sourdough starter. Simply rehydrate your dry starter with water (usually about equal weight of water to starter) before using the feeding ratios for maintenance and activation.
The 1:1:1 ratio is ideal for beginners. It uses equal parts starter, flour, and water, offering a quick rise and easy management, making it perfect for learning the basics of sourdough starter care.
In a Dinner Rut?
Sign up for our newsletter!
Please Rate this Resource!
We hope you love this sourdough starter feeding ratios! If you make it, be sure to leave a rating so we know how you liked it!

Sourdough Recipes You'll Love
Looking for other delicious sourdough recipes? Try these:


Eva says
Such a great read. I am very intrigued to finally start a starter!
Risa says
Thanks so much for sharing this information! I started a sourdough starter back in 2020 and stopped as life got a little busier. I've been wanting to start up making my own sourdough again, and this information is so helpful, thank you!